Replacement of front suspension on Audi A6 C5 in the assembled condition
The photo report describes in details the procedure of the front suspension assembly replacement Audi A6 C5
In order to carry out the replacement, we need the following:
- adjustable jack,
- inspection pit,
- “liquid wrench”
- quality sockets for 16/18,
- a box end wrench (curved) for 16/18 is very recommended as it would make the work much easier,
- hammer.
At one of the stages of the repairs you will need to use a steering rod ends remover tool with wide “foot” and spring stainers. Do not use the cheap ones.
After the levers and shock absorbers have been replaced, it is about time to go to a vehicle alignment workshop.
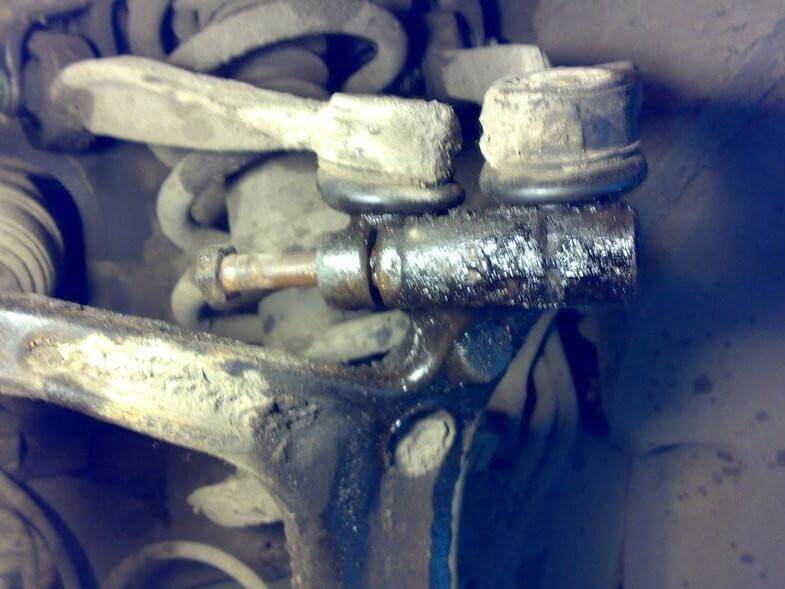
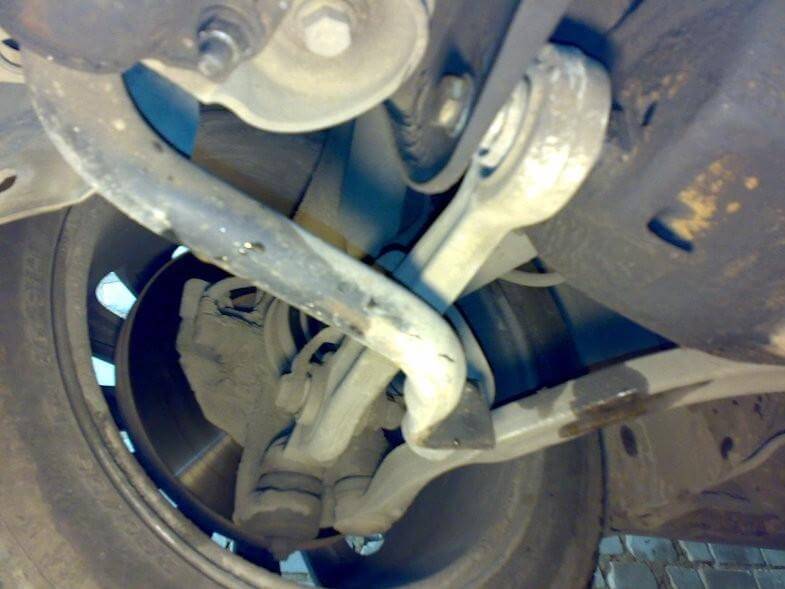
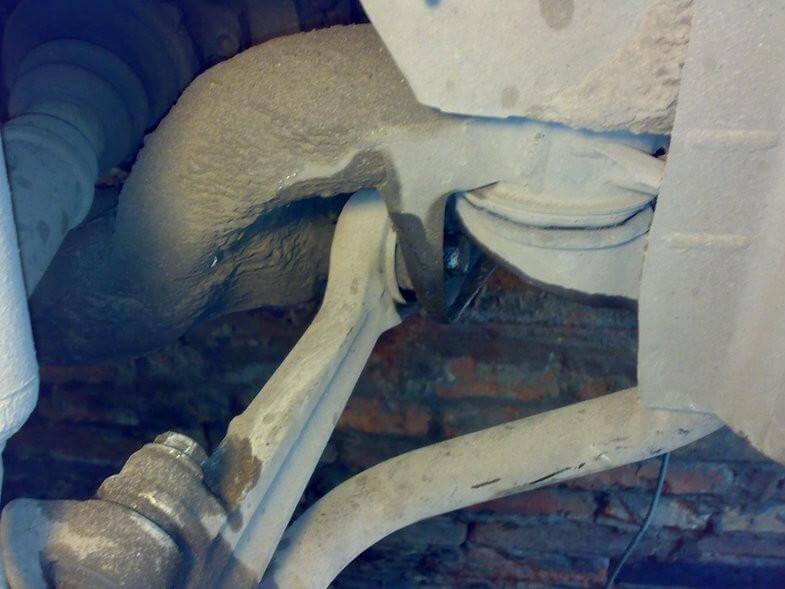
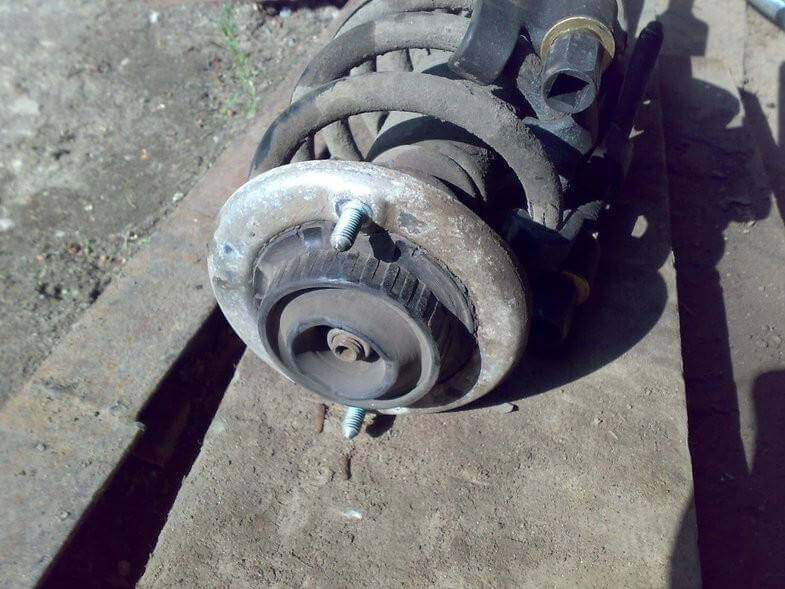
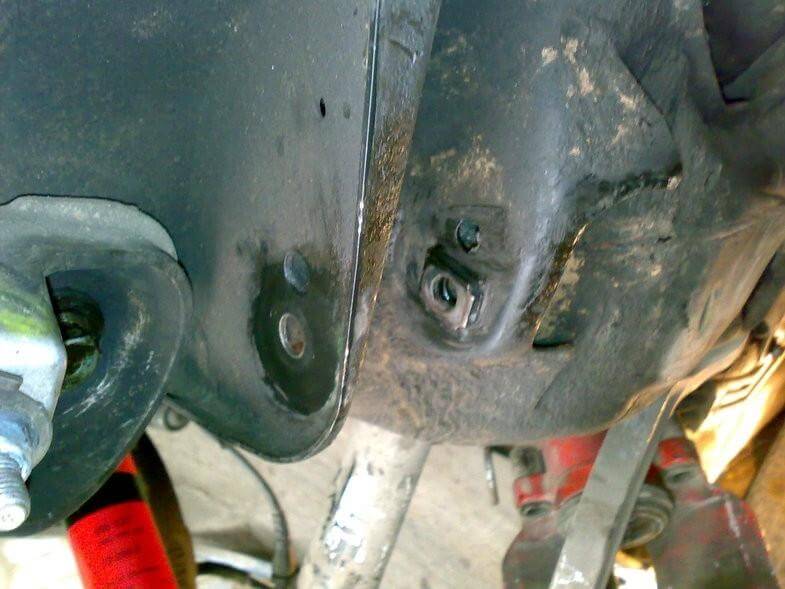
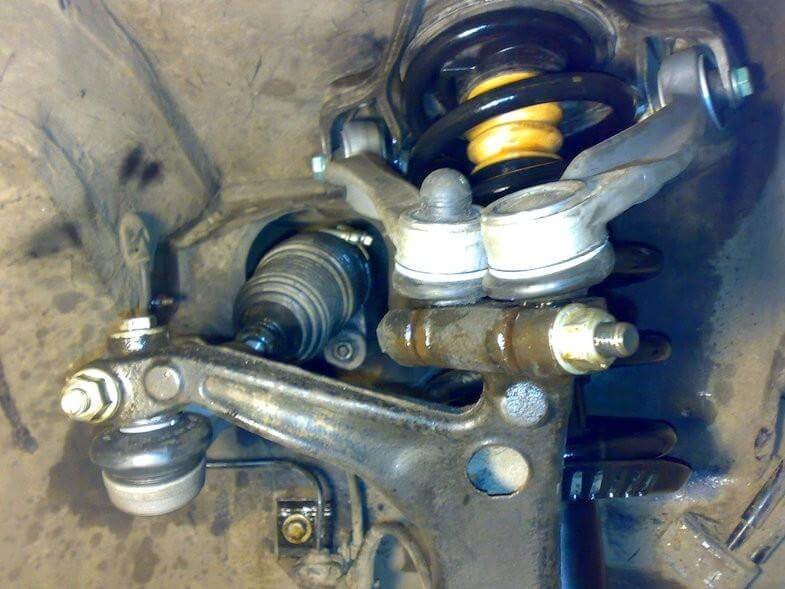
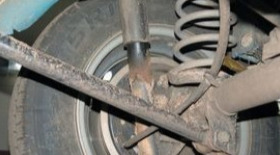
Loose bolts that secure a front wheel.Lift up the vehicle using adjustable jack and secure it with reliable wheel chocks. Remove the wheel. Clean all bolts and nuts off dirt using a brush. Pay special attention to grooves located at the top part of the steering knuckle, where upper levers are attached. Pay attention to the clean groove (left) and unclean groove (right). If you have a similar situation, you should thoroughly clean the grooves and flush them with “Liquid wrench”.
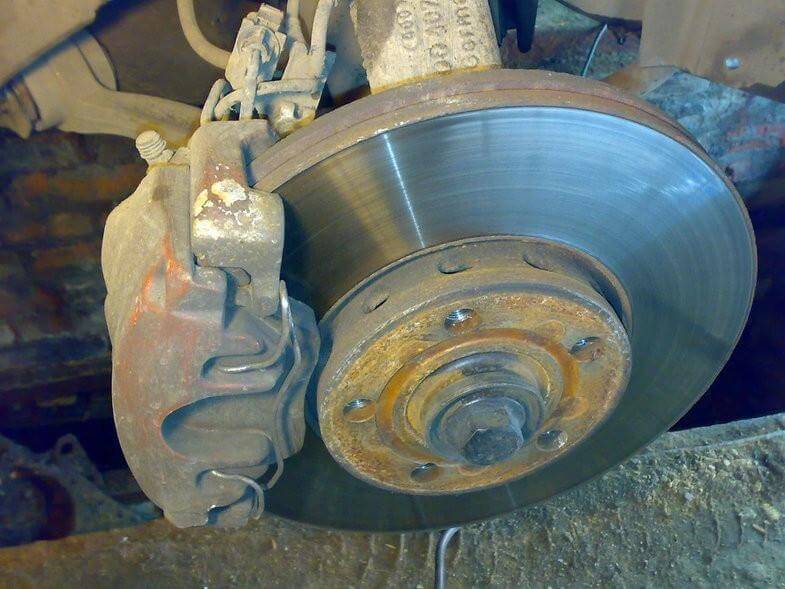
There is no common practice on how to replace the suspension, and it is up to you to decide, from which side to start, from the top or from the bottom. You can do this in the following way: unscrew 2 bolts that secure the brake calliper bracket and remove the brake calliper (along with the bracket) and the brake rotor. Hang up the brake calliper to the car’s body using a strand of wire. Do not hang up the brake calliper using the brake fluid line!

Loosen all nuts and bolts that secure the front suspension using the necessary sockets and wrenches! Very important! You have to thoroughly and gently tap all the nuts and bolts with a small hammer before unscrewing them.
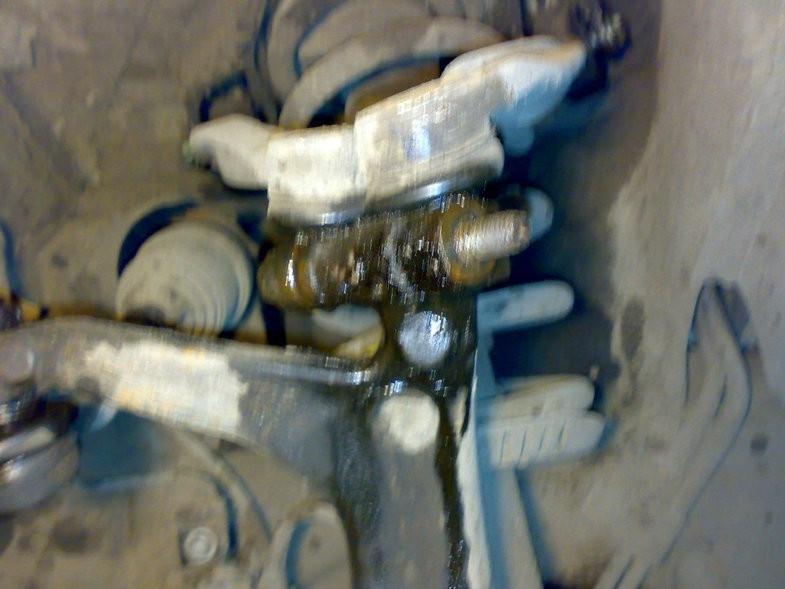
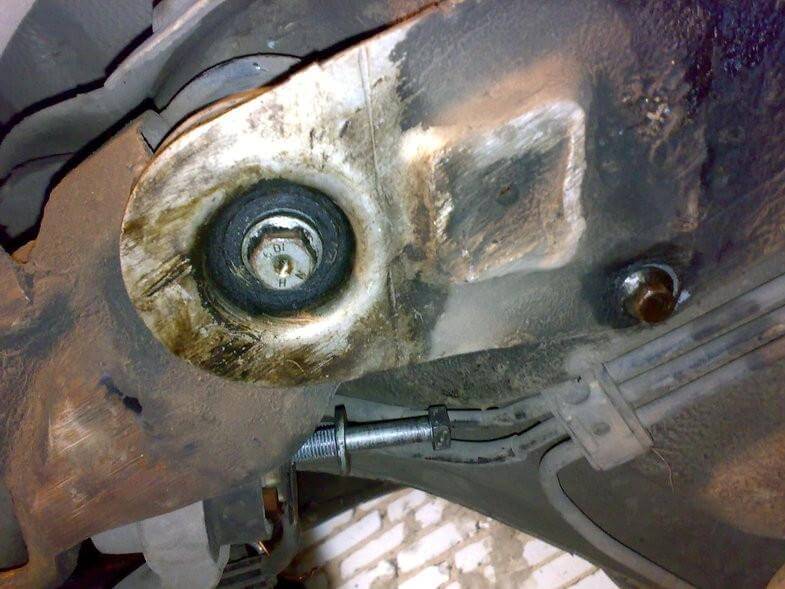
Unscrew the nut on the bolt that secures the upper levers. Rotate the bolt (without the nut on it) with wrench. Then gently knock out the bolt with a hammer.
If the bolt is stuck and does not come out, there is a wide variety of ways to remove it. For example, you can heat up the steering knuckle and knock out the bolt while rotating it with its head clamped (that is why you should not hurry with blowing a gasket on that one. Thoroughly plan the sequence of your actions instead).
But do not hurry to completely remove the bolt (ensuring that it can come out freely would suffice).
Unscrew the bolt of the shock absorber. Unscrew bolts and nuts that secure stabilizer rods (couplings) to the lower front lever.
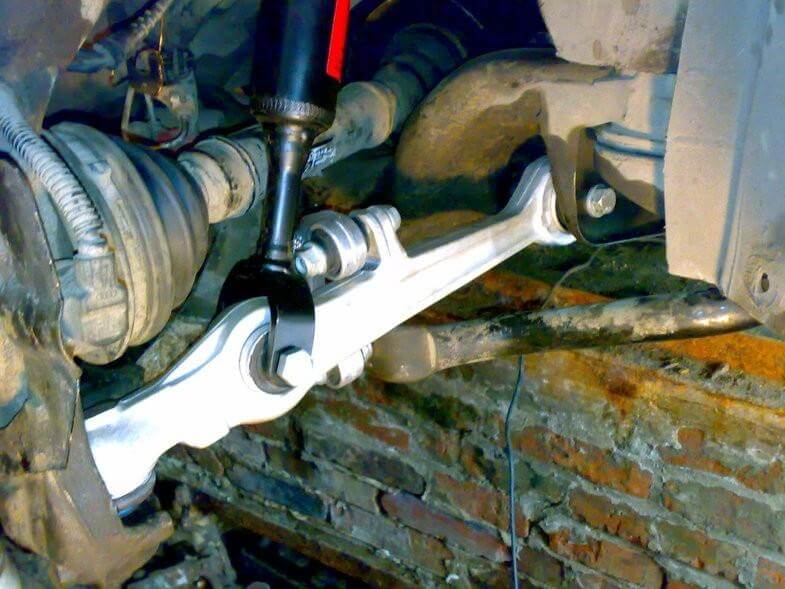
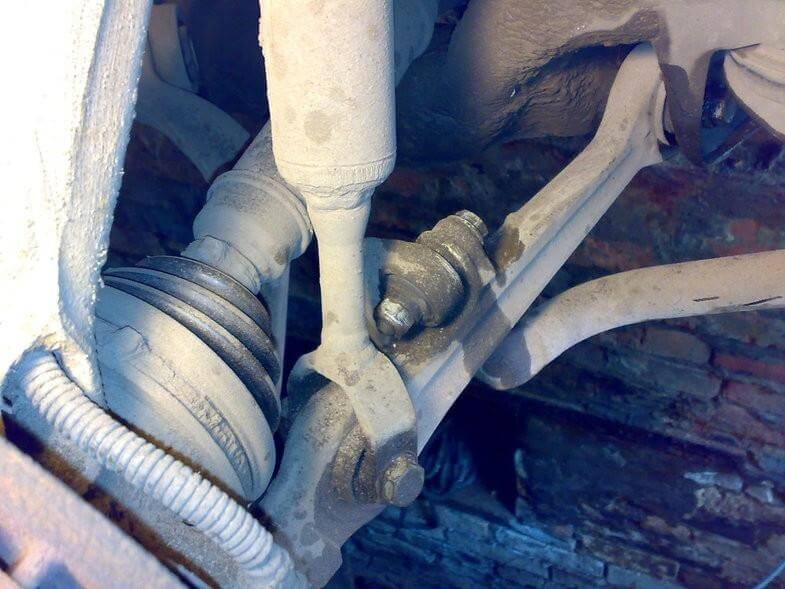
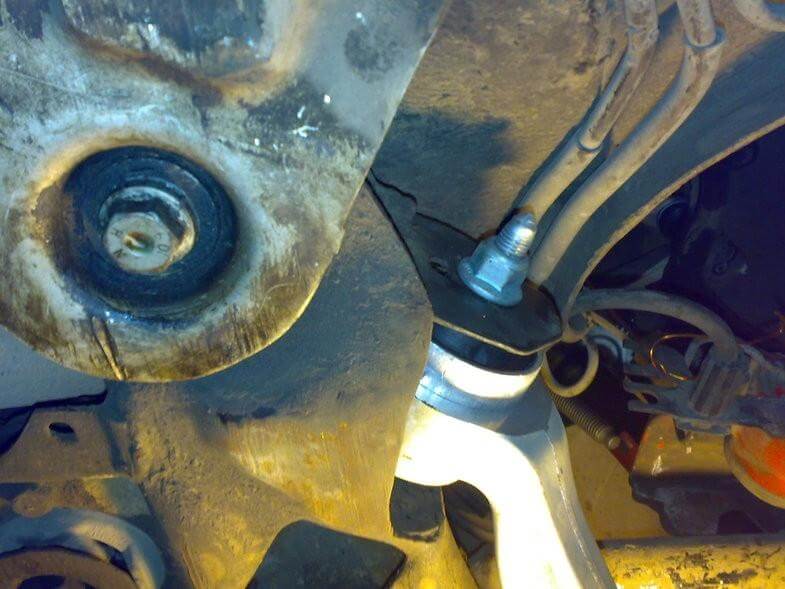
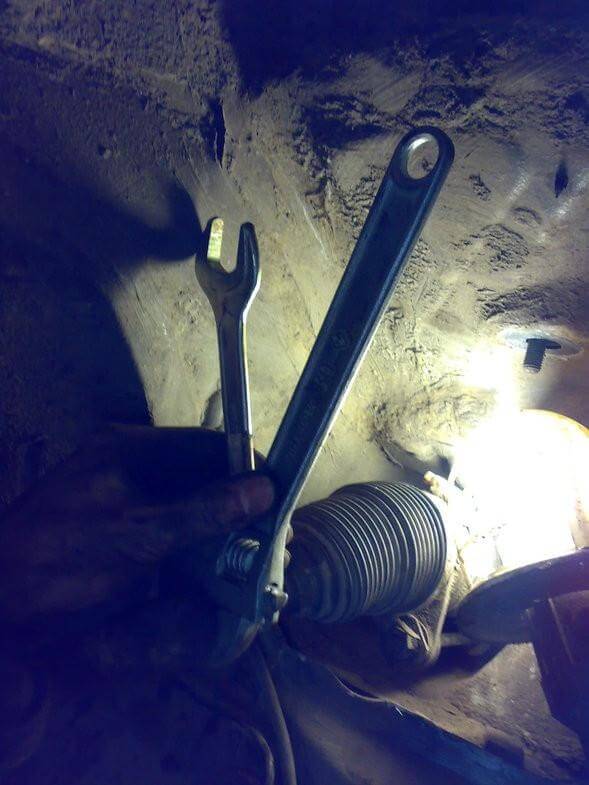
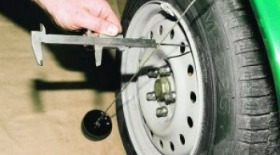
Then it is necessary to loosen the lower levers, for which you should unscrew the nuts that secure both of the levers. However, the nuts must not be unscrewed completely, but up to the edge of the bolt. Install the remover tool. The lower lever pins are 20-25 mm in diameter. So the “foot” of the remover tool must be wide.
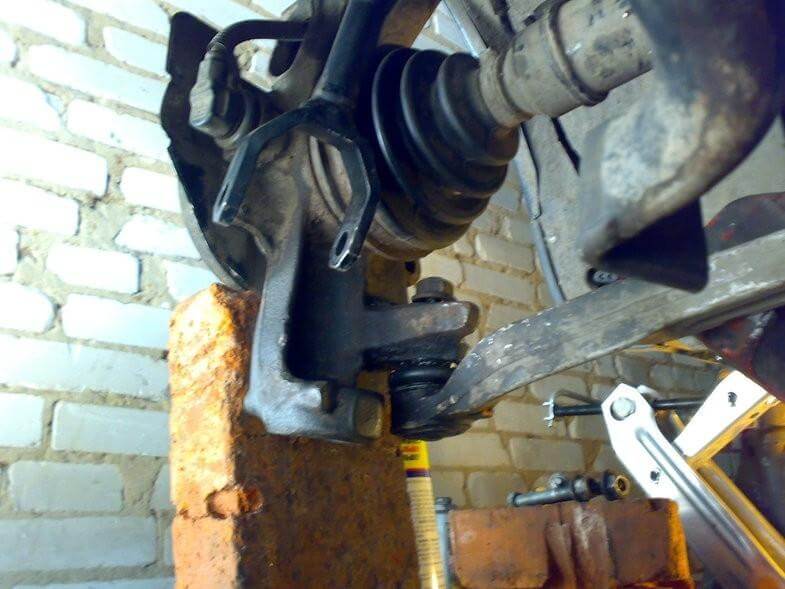
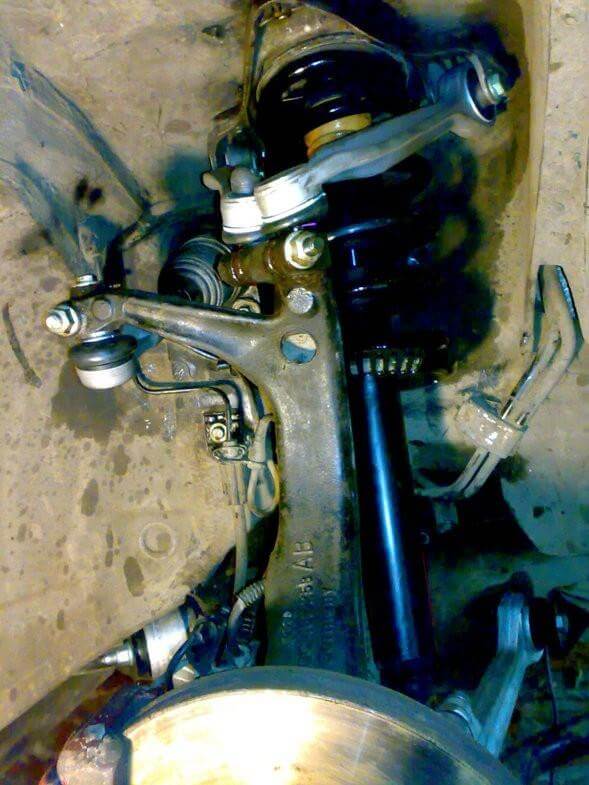
Now the upper levers bolt, as well as the lower levers bolt can both be removed. Unscrew the upper levers bolt and gently knock it out from the knuckle, using a small hammer. If you did not remove the CV-joint, place the steering knuckle on a block stop.
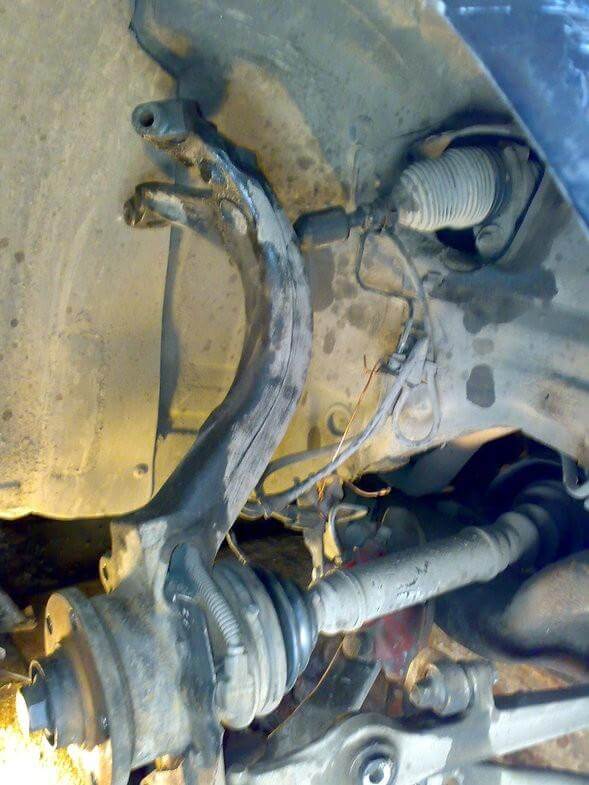
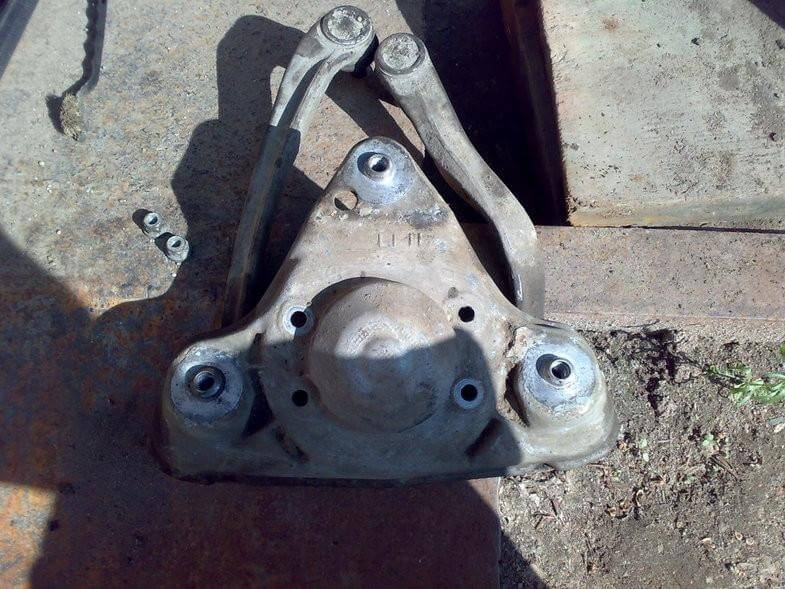
Remove the lower levers. In order to detach the rear lower levers from the car's body you should lower the subframe a bit.
As the suspension set included subframe bolts (by the way, the old bolt turned out to be slightly bent), the subframe bolt was completely unscrewed, and the lever bolt was unscrewed with the wrench, as far as it was possible (the bolt bumps up against brake pipes).

Along with that the diagnostics of the subframe silent-blocks has been carried out.
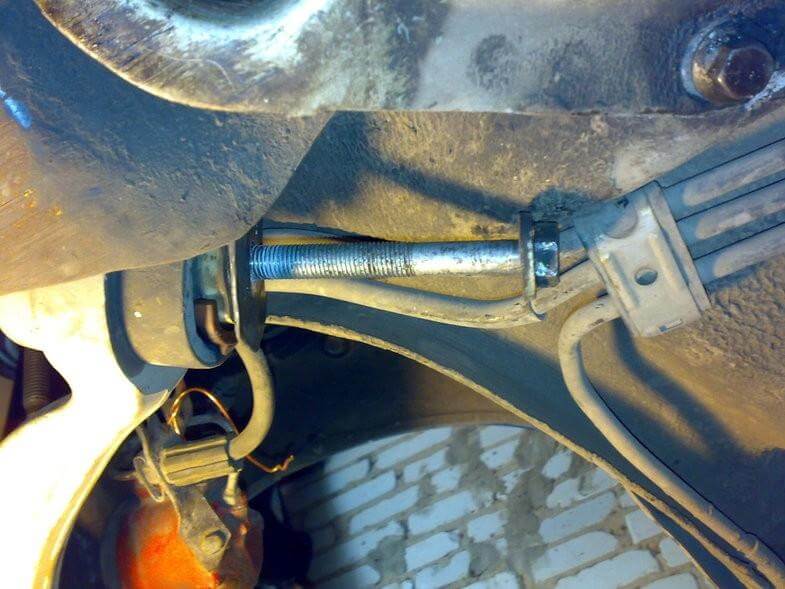
Next, with the bolt gripped and pulled down and also having turned the lever to side needed, unscrew the old bolt. Then, take the new bolt and screw it into the subframe until you can go no further, but without stretching out. This way you should replace all the subframe bolts (one by one)
In order to avoid lowering the subframe in the future, install the bolts the opposite way – with nut facing the rear, not the front. This makes no critical difference, except that it would significantly ease the further works.
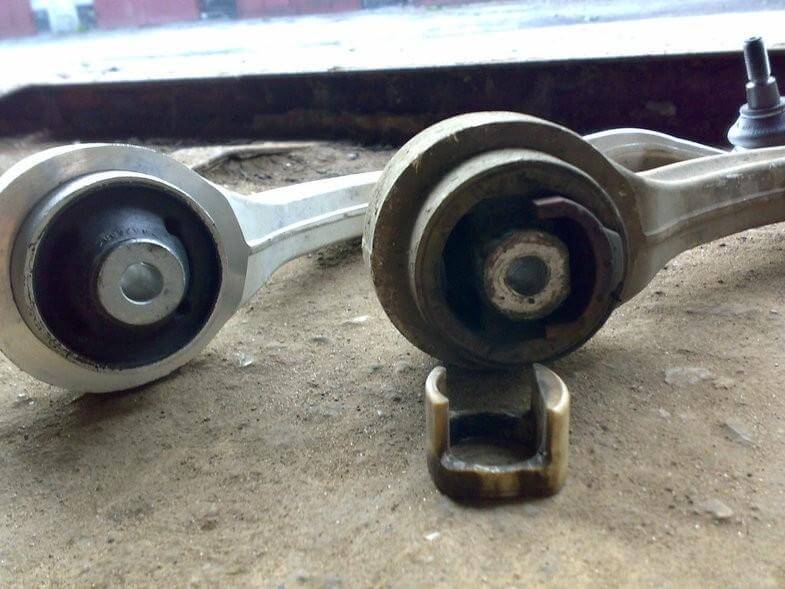
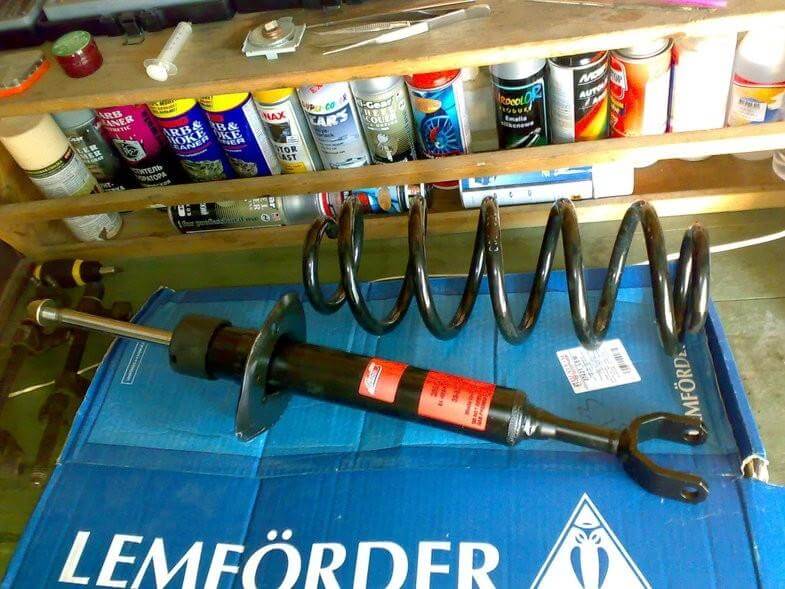
Difference between the original levers and lemfeder.
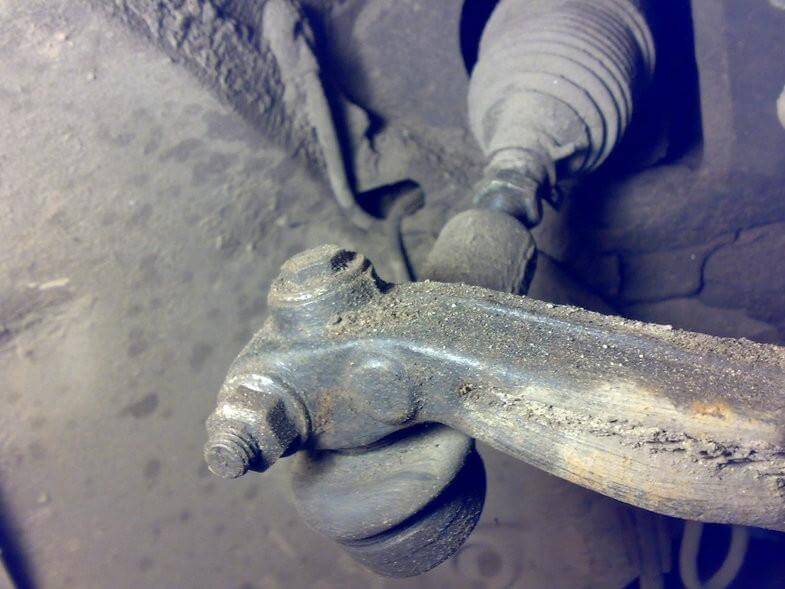
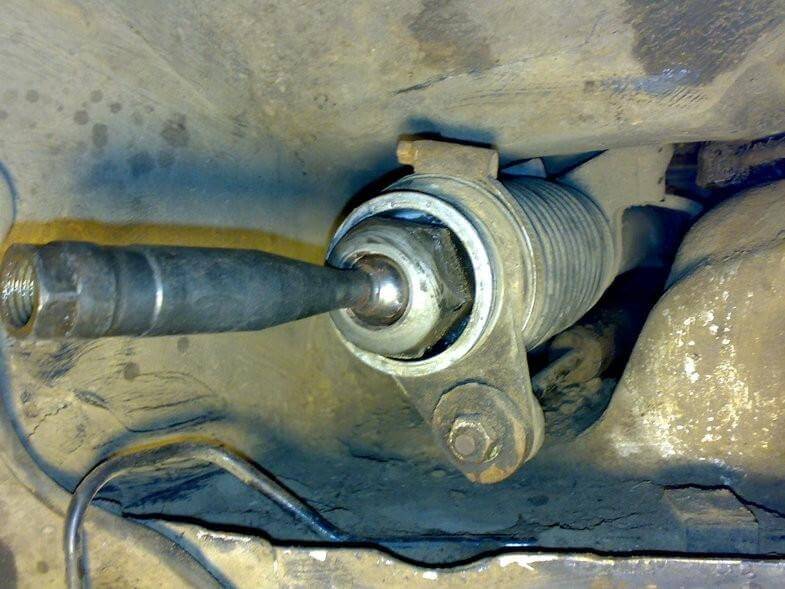
Removing the steering rod end.
In order to accomplish this, firstly unscrew the upper bolt, then the front nut and knock out the pin. Next, having loosen the locknut but keeping in mind its orientation, unscrew the steering rod end with your hands. After that the upper will be detached levers from the steering knuckle. The lower levers and the stabilizer rods are dismantled. The steering rod end is removed. The steering knuckle is on the block stop.

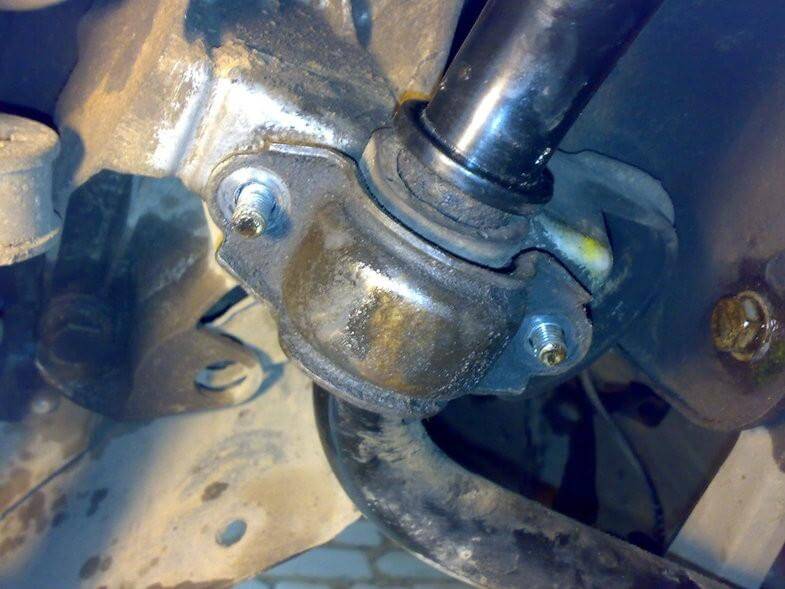
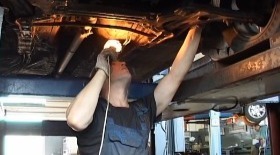
Then, let us proceed to dismantling the shock absorber strut:Unscrew 3 bolts from under the hood and pull out the shock absorber strut.
Next stage: shock absorber strut disassembling. Unscrew 2 nuts and remove the upper cap of the shock absorber strut.
Here you will have to use quality (!) spring strainers. Shackle the spring by catching as much coils as possible, as even 1 unshackled coil is able to shoot out pretty hard. The pressure is huge there! Next, using a special socket for 18, unscrew the shock absorber nut while holding the absorber rod off rotation with an Allen wrench. A box-end wrench (even a curved one) will not get through there. Use the socket. Install the Allen wrench through the socket and, while holding it, unscrew the nut applying a gas wrench at the socket. Remove the upper supports, the spring, the boot and the bump stop.
Check out the state of lower rubber bump stops.This is, actually, all for the disassembling procedure. The assembling starts from the shock absorber strut.

Do not forget to bleed the shock absorber! Install the lower bump stop onto the shock absorber cup. Install the compressed spring. From the top and in the reverse sequence mount the cup with the boot and the bump stop installed. Install the upper support and screw up the nut.
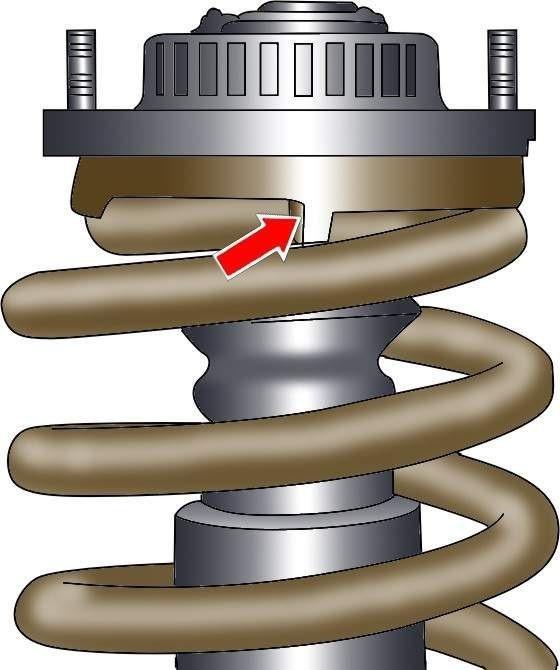
Take care so the coil ends of the spring would not get disengaged from the limiting stops. Coils orientation scheme:
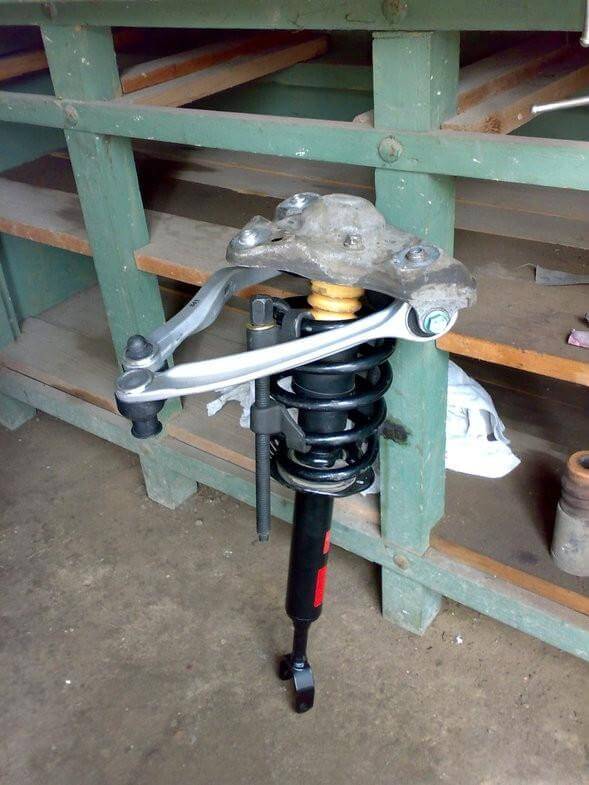
Then goes the upper cup assembling. Removing the old levers. Similarly, install the new ones while keeping the angle of installation.
It is necessary to observe the range of 57 mm, with +-2 tolerance, from the cup edge that extends forward to the lever. Install the upper cup on the shock absorber and screw it up with 2 nuts, with torque of 20 Nm. Install the shock absorber strut into the wheel housing bay and screw it up with 3 bolts (without tightening). Install the lower levers. Attach the levers to the steering knuckle (without tightening).

Attach the upper levers to the steering knuckle, while bending them down with your hands.
Additionally, the stabilizer silent blocks were replaced – unscrew 2 nuts – lower down the stabilizer and replace the rubber, having preliminarily ungreased its surface. Condition: do not apply grease. Screw up the 2 new nuts.
Install “couplings” — stabilizer rods- not forgetting for their right orientation. Attach the shock absorber rod to the lower lever. Install the steering rod ends. To do this take the new steering rod end and place it against the wall. Place the new steering rod end next to the old one. Mark the orientation of the nut on the old steering rod and carry it over onto the new one. Remove the nut from the old steering rod end and screw it up onto the new one, to the same range. The point here is to keep wheels alignment angles as close to right ones as possible, and to drive the car to a vehicle alignment workshop with minimum fuss. Additionally, you can remove the rack boot and apply some synthetic grease onto the ball pins. The steering wheel will become a bit lighter to turn. In addition, you can tighten the nut for 38 (the one that secures that very pin).
Screw the new end into the rack link. Tighten the nut. Install the end into the steering knuckle. Fix it with the big bolt. Only after this screw the upper (small) one.
Tighten 3 bolts of the shock absorber strut upper cup with 75 Nm torque. All that is left to do is to carry out tightening of levers – remember – where the silent blocks are. Namely, fastening of the shock absorber to the lower lever, fastening of lower levers to the car’s body, stabilizer rod — all these must be tighten only when the vehicle stands on its wheels! All other ball joints can be tightened on the jacked up wheel hub, even though it is not critical. Do not forget for wheels alignment.
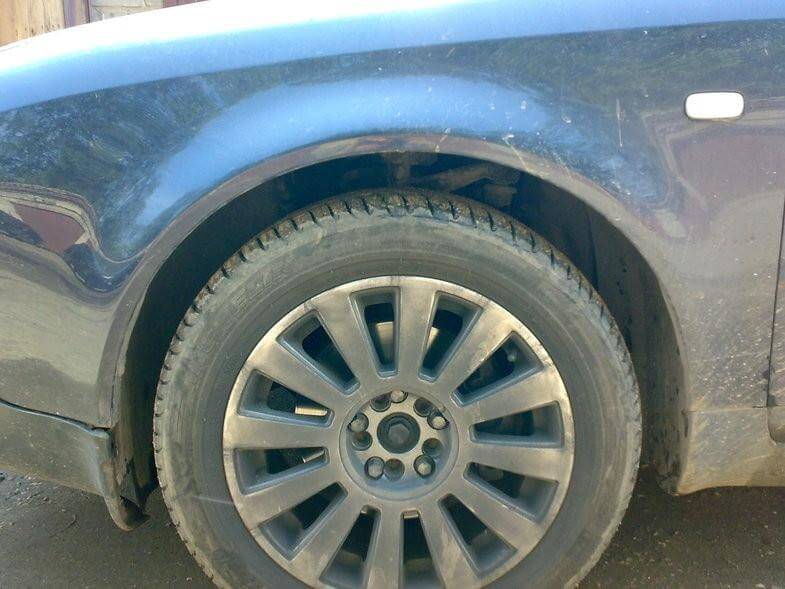
Vehicle stance BEFORE.

Vehicle stance AFTER.
 Wheel Camber Alignment Regulation. DIY Toe In / Toe Out
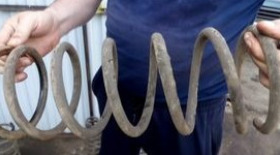 How to check car suspension spring
 Symptoms of bad shock absorbers
 Knocking sound when moving off
