Audi 100 steering rack reassembling
There was a leak on the steering rack of the Audi 100, so the repair kit was bought and the steering rack was repaired: disassembly, reassembly and assembly.
To repair the rail yourself you will need:
- repair kit 443498020A,
- 2 liters pf G002 liquid or its analog (Febi 6162),
- rubber boot rack.
The following tools are required:
- hexagon on “6”,
- heads with extensions,
- pinhole
- 10 and 13 sizes keys,
- hammer,
- gasoline (for washing),
- rags.
Removing the rail from the car is quite simple, in contradistinction to Audi 100 steering rack repair (disassemble, wash, change and assemble) which is rather complicated to implement. Therefore, this photo report will be quite useful to look through.
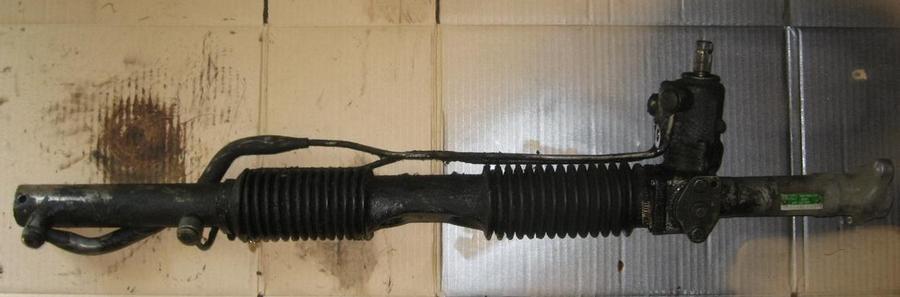
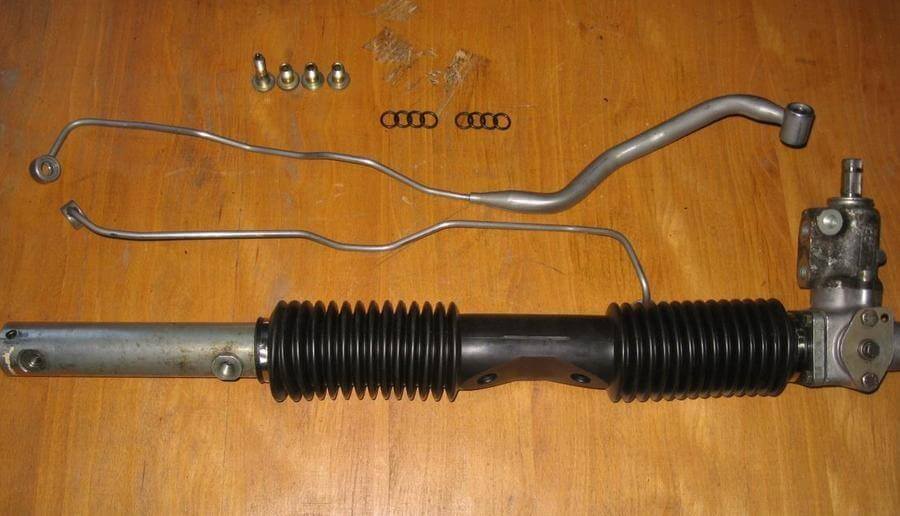
Remove the rail from the car. It usually looks so dirty, In case of a leak. It’s better to wash it in the car wash with chemistry before disassembling.
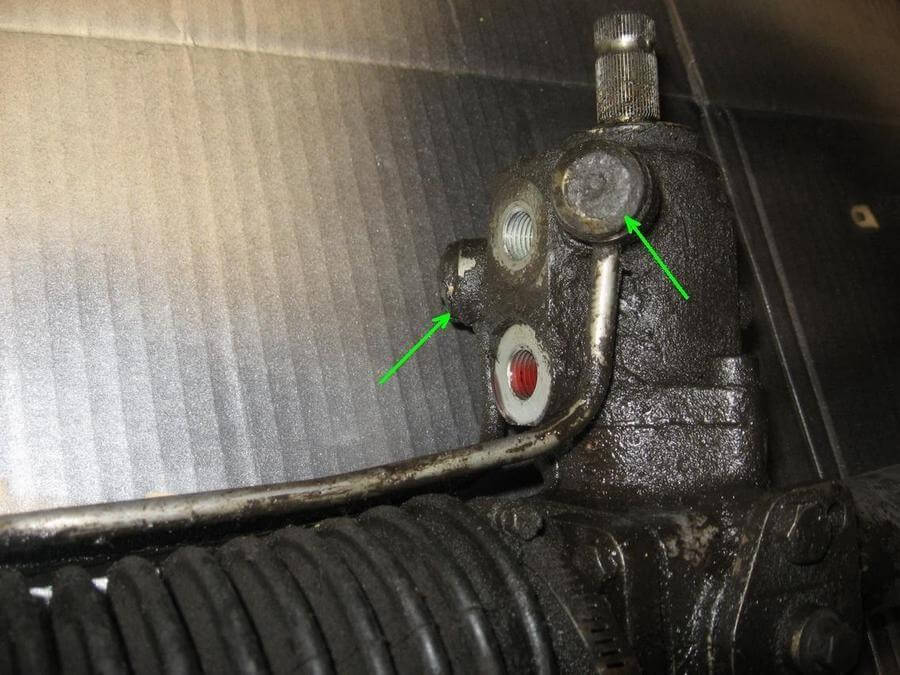
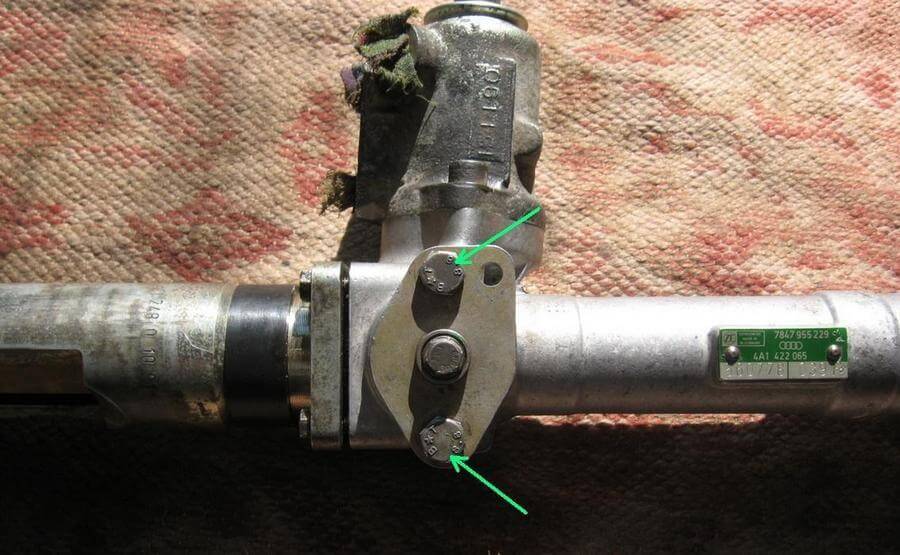
Unscrew tubes bolts with 6 size hexagon. Often these hex bolts are torn off, in such a case unscrew them bolts while using a chisel. It’s possible to use a pipe wrench.
Then unscrew the anther clamps and remove the boot after tube remove. Then completely wash the rail; pre-plug the holes with a clean cloth if doing this for the first time.
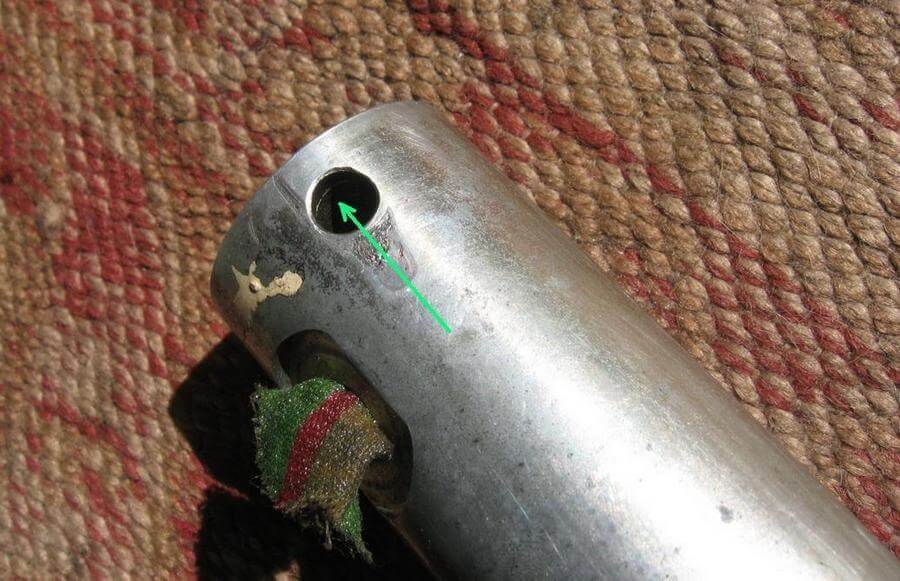
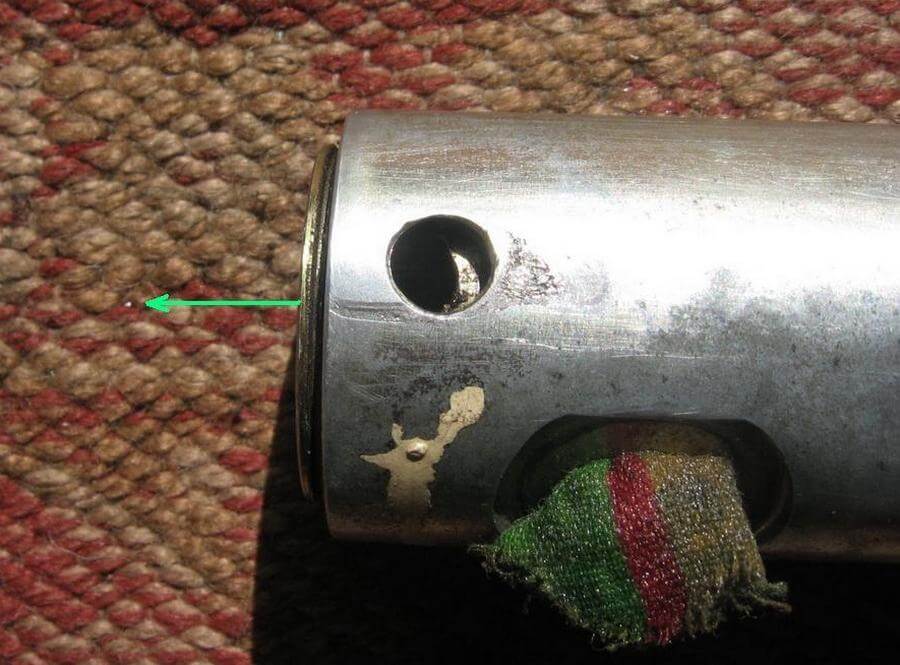
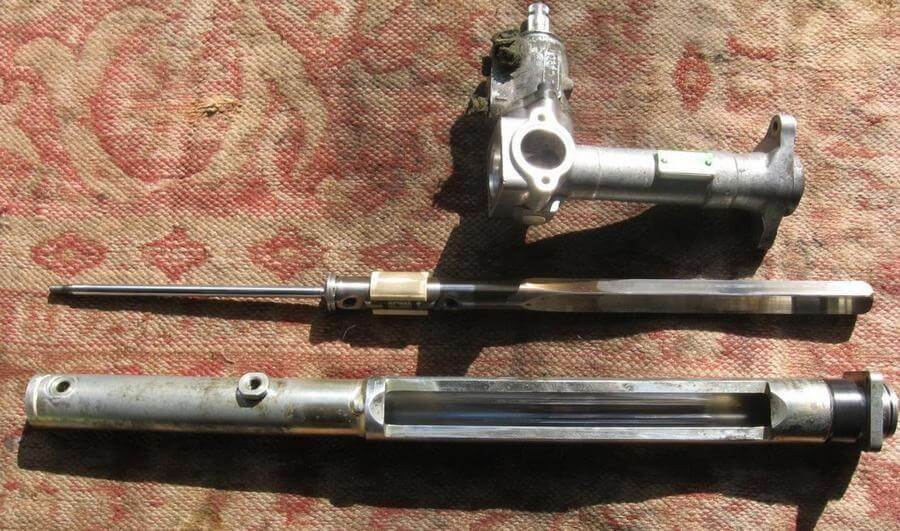
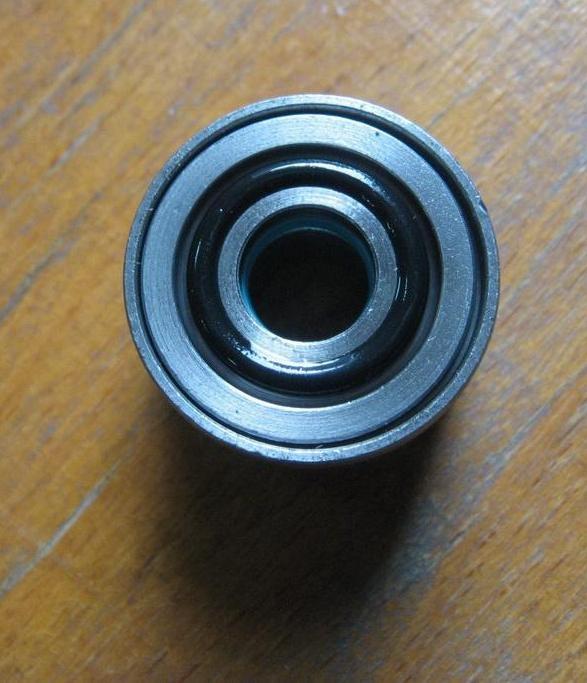
Lightly knock the inner cylinder out of the rail body with a small stroke through a hole in the rail edge for attachment to the body, using a core or screwdriver, then pull it out.
Turn off the nut, fastening the piston on the rod.
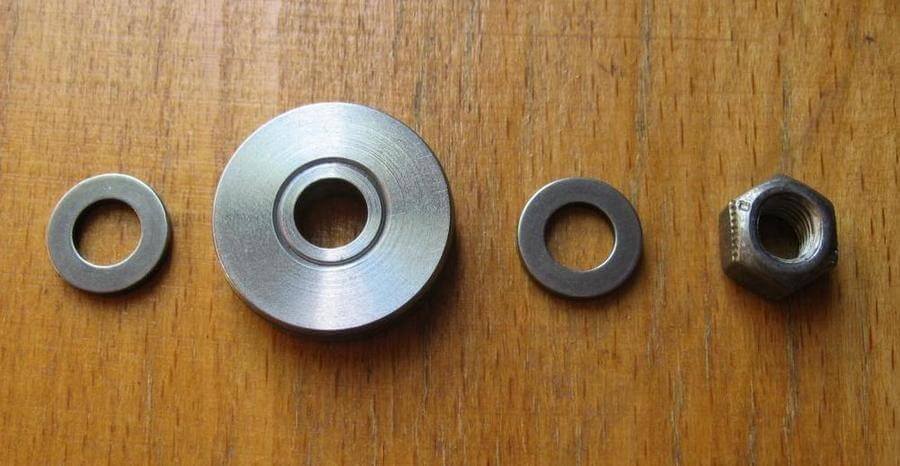
Now take out the piston, while keeping in mind the washers are located on both sides.
Then turn off the thrust mechanism cap bolts.
Now take out the spring, thrust washer, pressure ring and stops.
Now mark with a sharp tool two slats halves position relative to each other (red arrows), then unscrew the four bolts connecting the slats halves.
Then disconnect the slats halves and remove the rod slats.
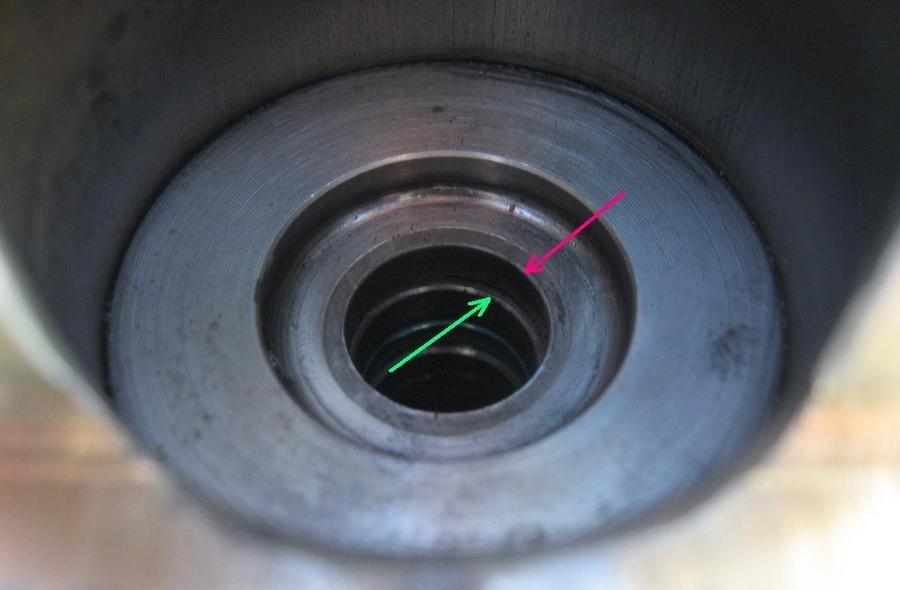
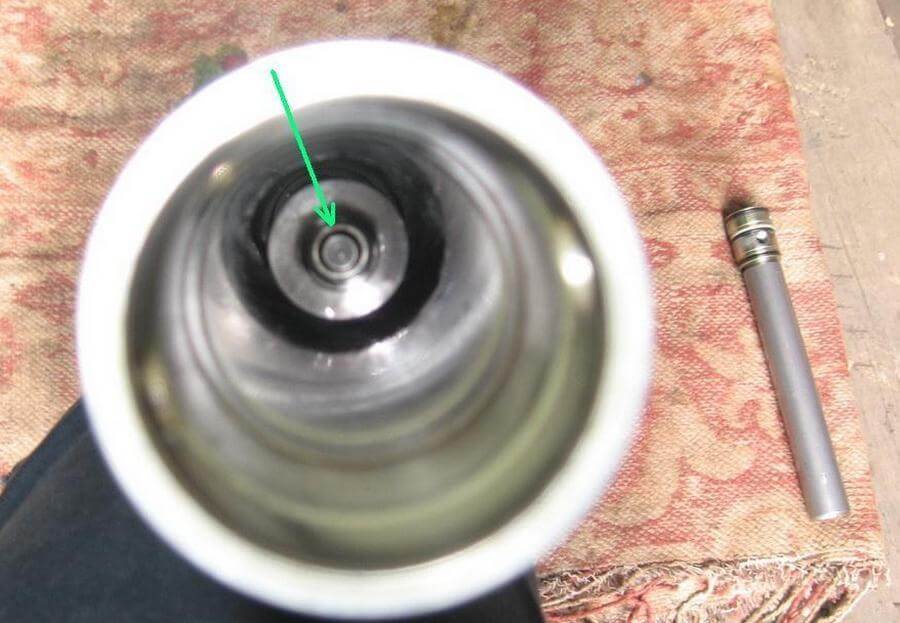
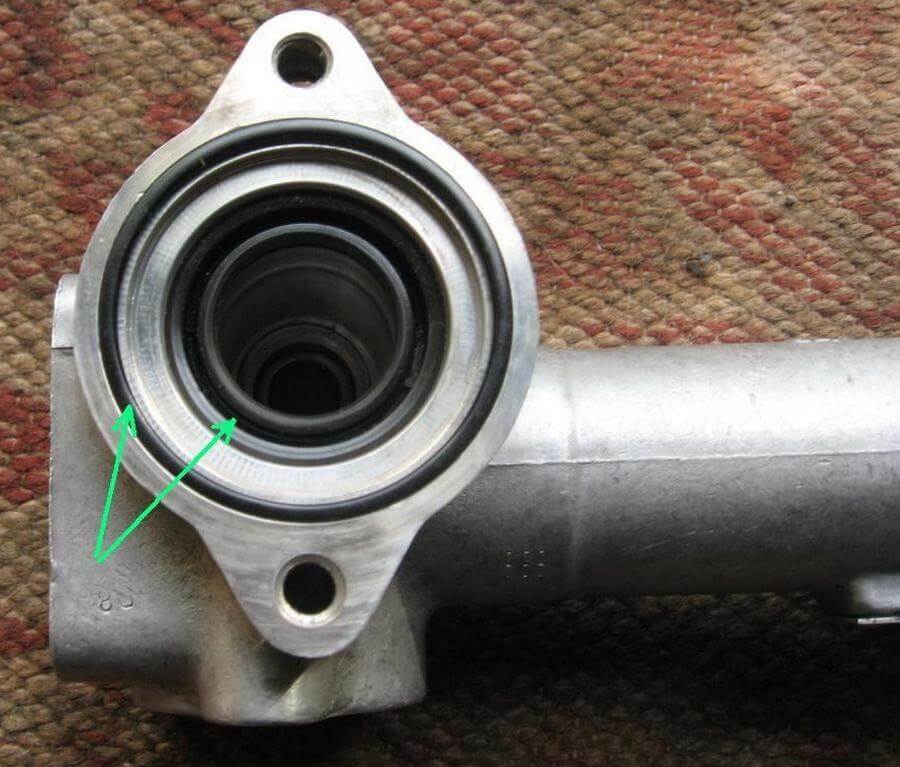
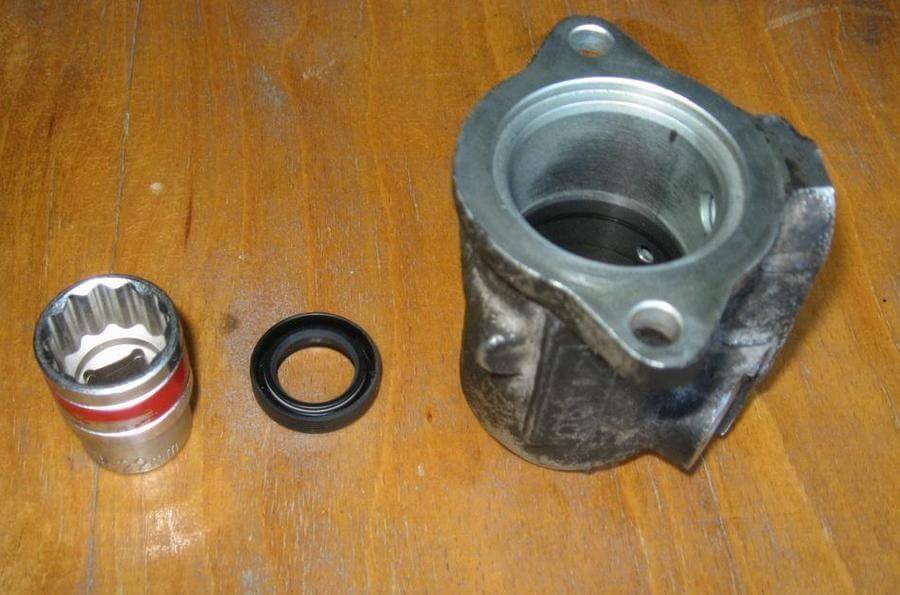
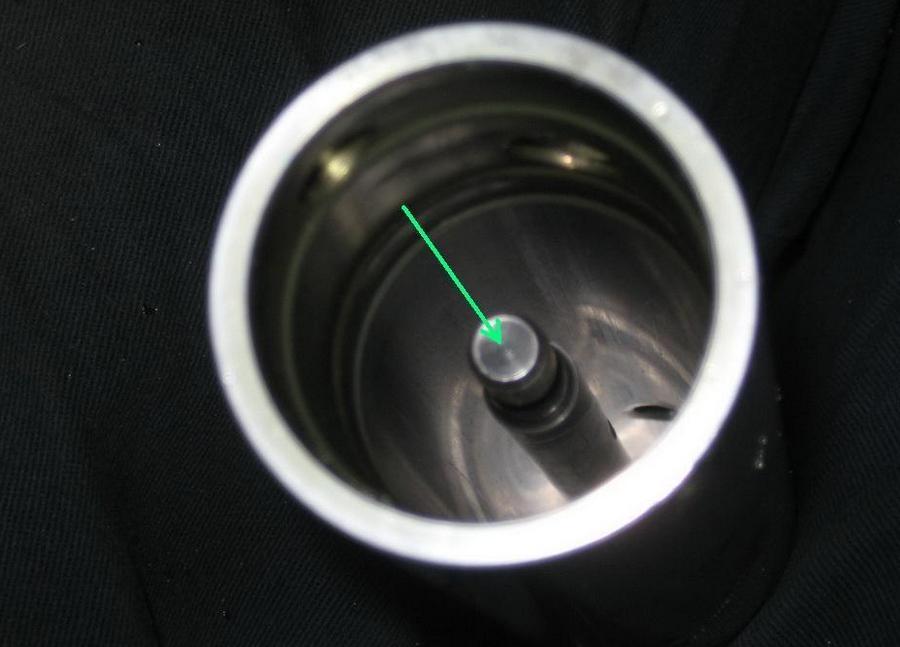
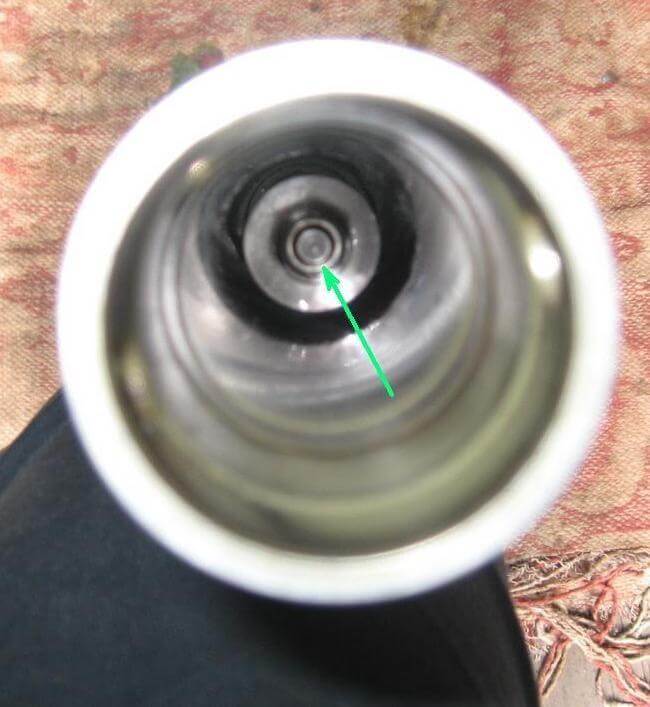
Sleeve with a gland assembly is pressed in the rack body — it must be knocked out. For this, make a punch the way it will fit the hole diameter, marked with a red arrow, but rested against the gland (green arrow). I managed to achieve the head to fit by the diameter while using improvised means.

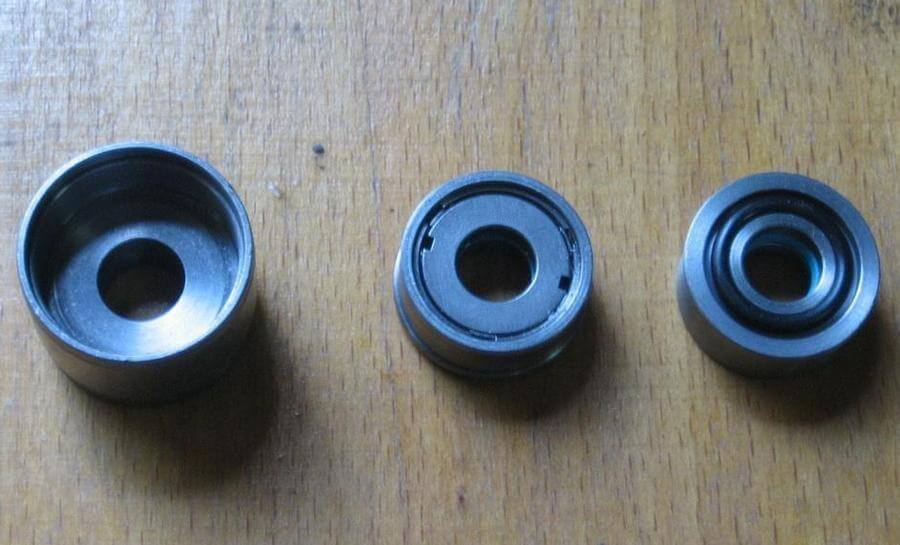
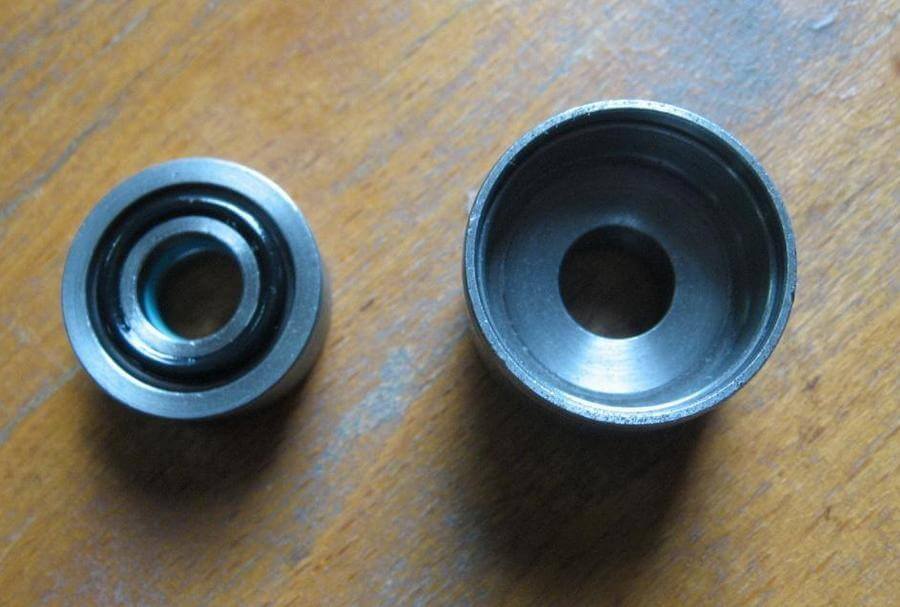
Gland: holder, old gland, new gland.
Now turn off the two spool valve body bolts.
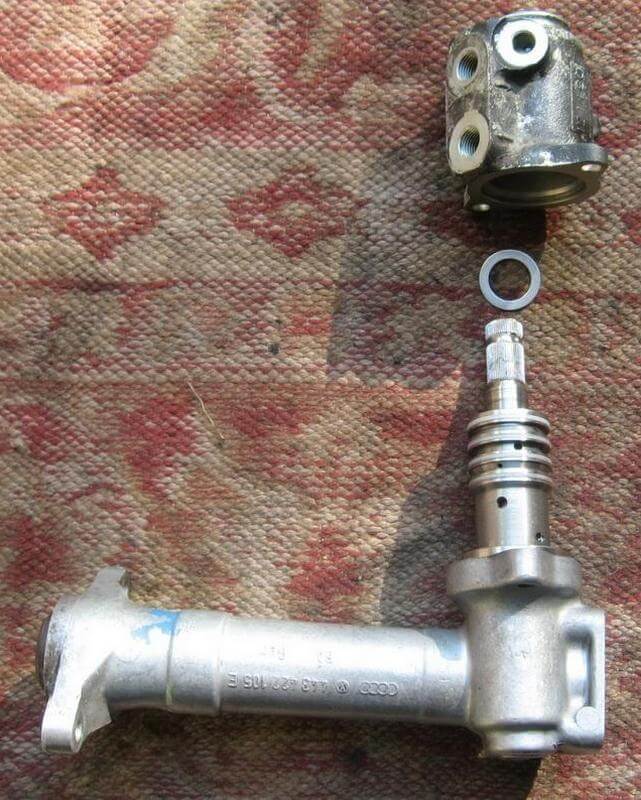
Remove the body and do not forget about the washer.

The take out the gland.
Now take out the gland, being easily pressed as well as the sealing ring.
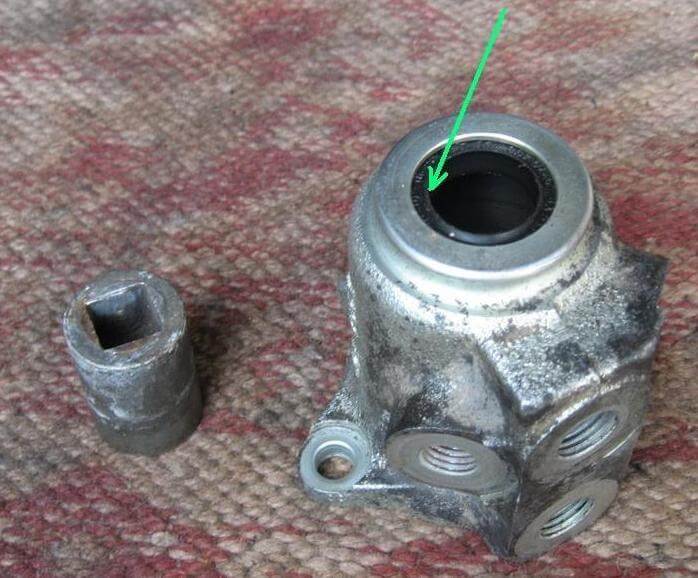
Now press the gland out of the body while using a suitable mandrel.
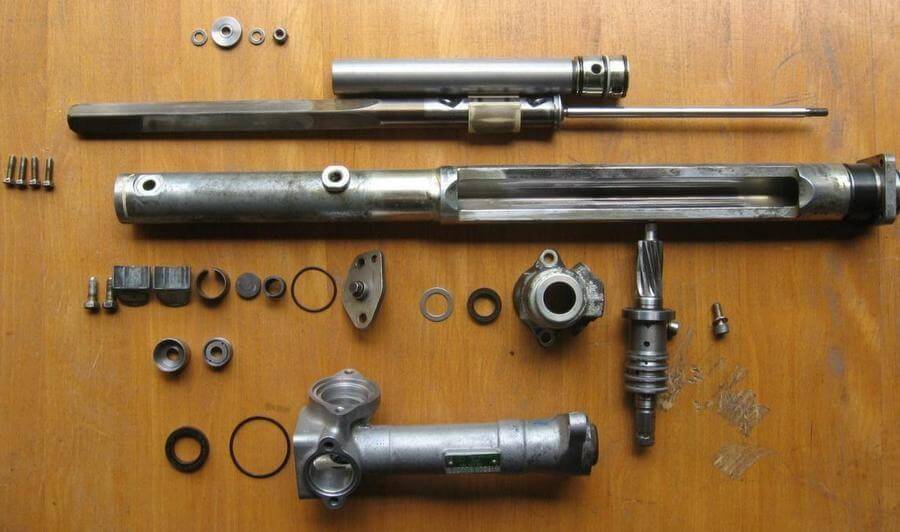
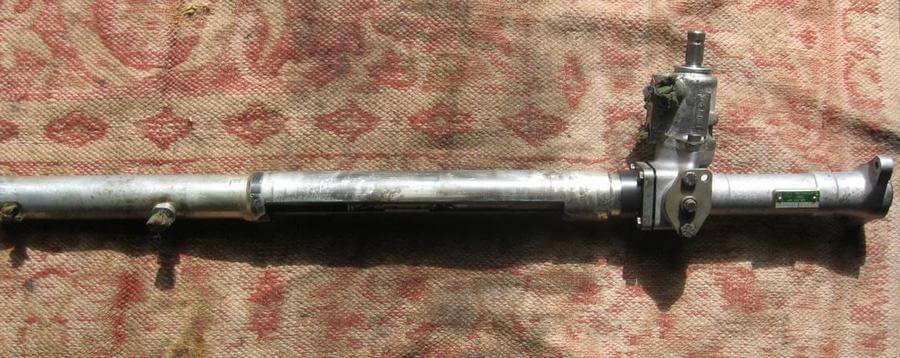
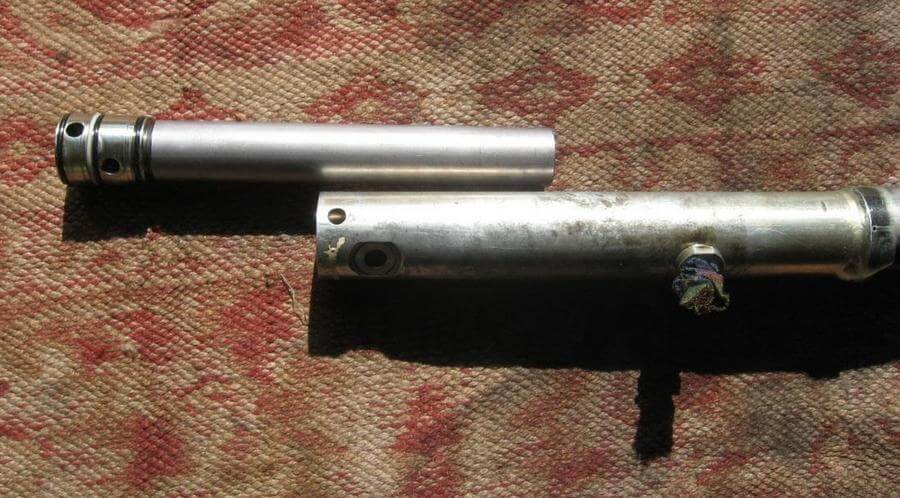
Raсk disassembled.
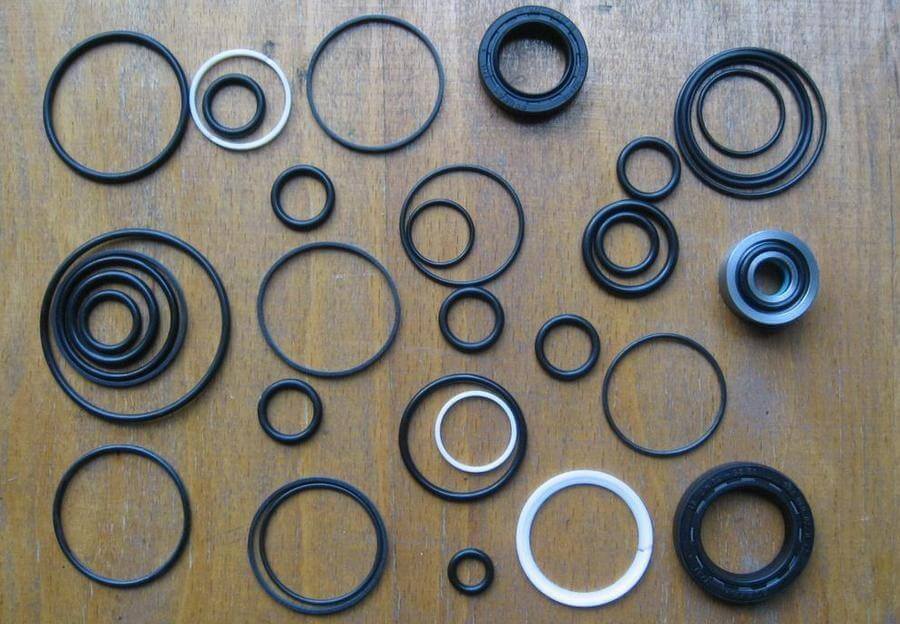
Repair kit content.
Now press a suitable mandrel into the spool case with a new seal from the kit.
Install a new seal in the rail body and replace the sealing ring with a new one.
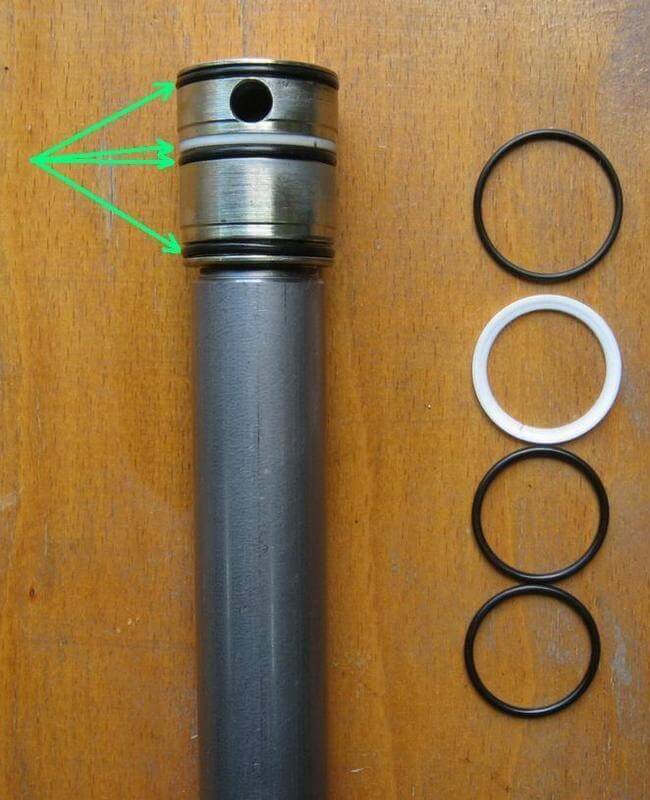
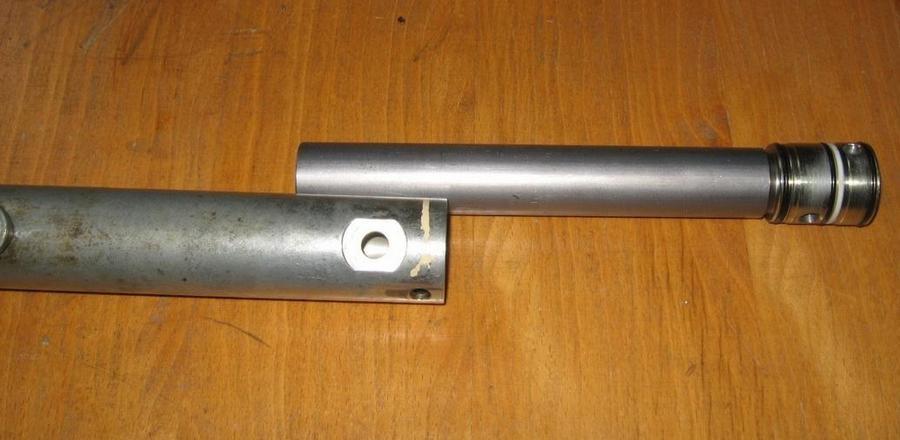
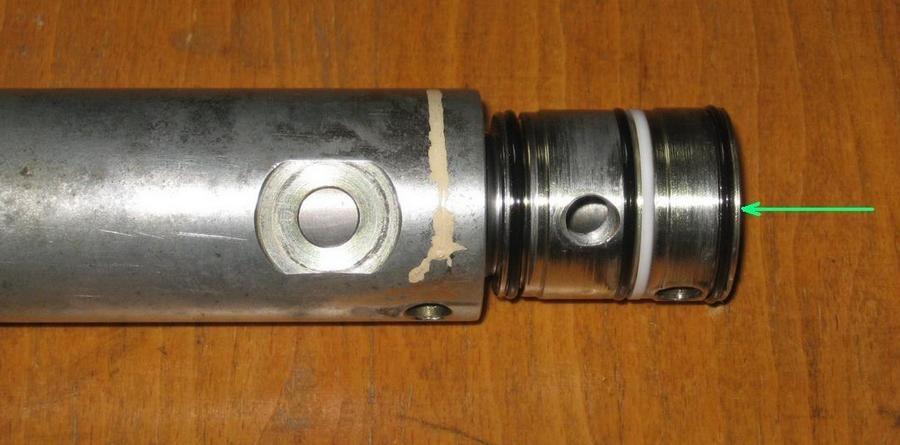
Now replace three rubber rings and one plastic on the cylinder rail.
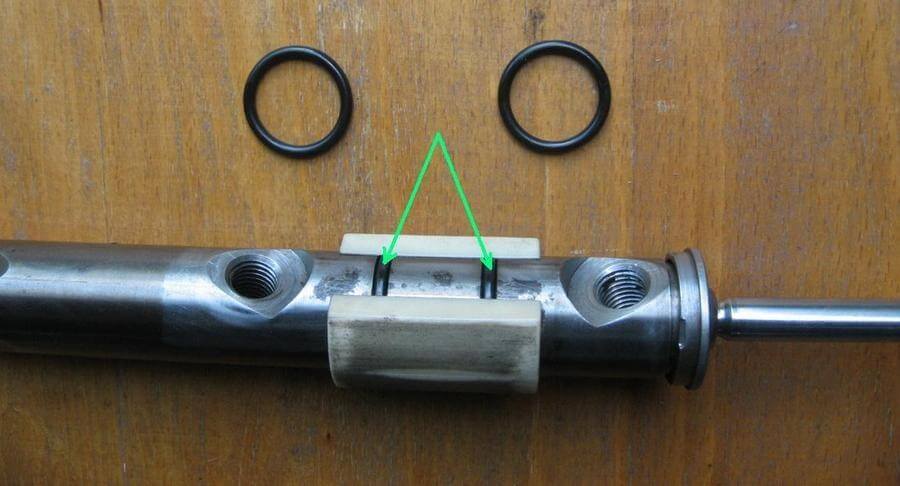
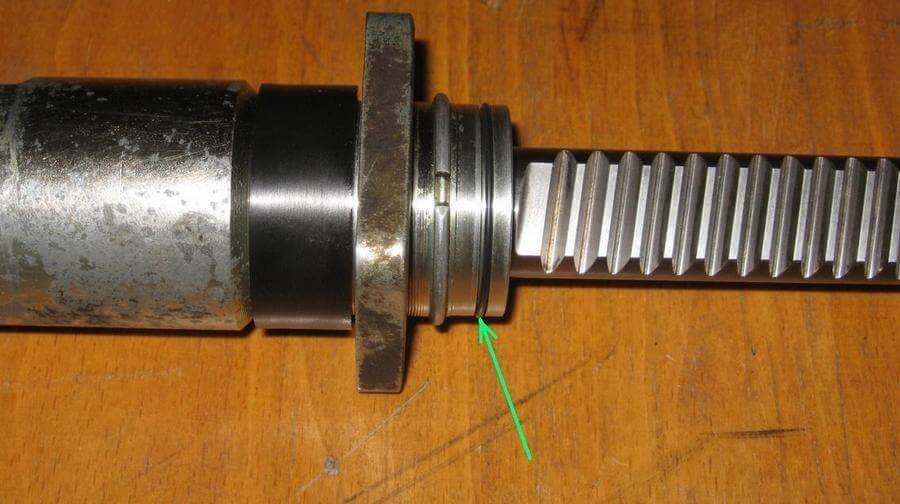
Replace two sealing rings on the rod rack located under the sleeve. It is necessary to replace the bushing, its catalog number ZF 7847035106 in the event if heavy wear is present on the rail bushing since this may be the reason of knocking.


A long core will be required to press the gland assembly into the rack body. I made it of a long screwdriver while cutting off the handle and sharpening the sting with the grinder. Try to avoid overheating the sting, while sharpening, in order to prevent metal release.

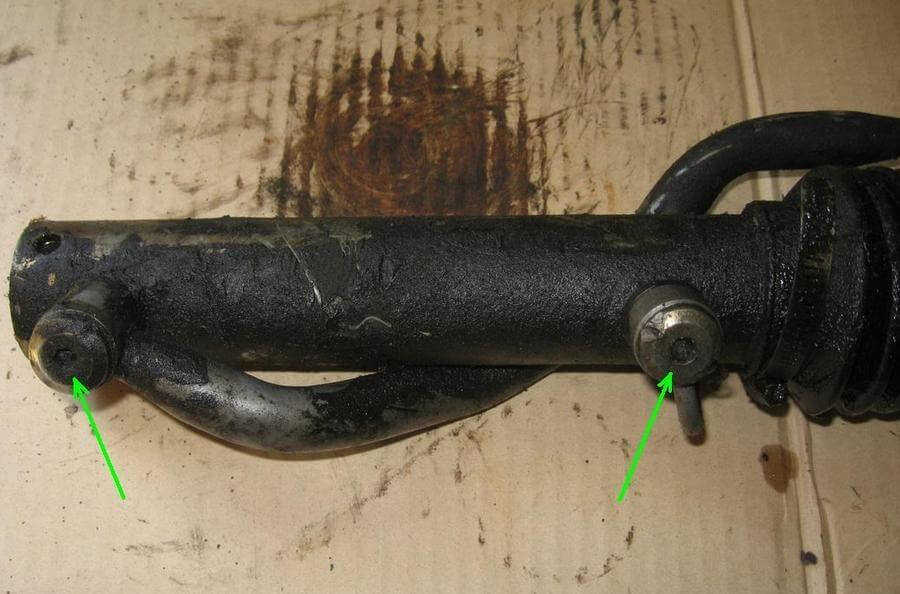
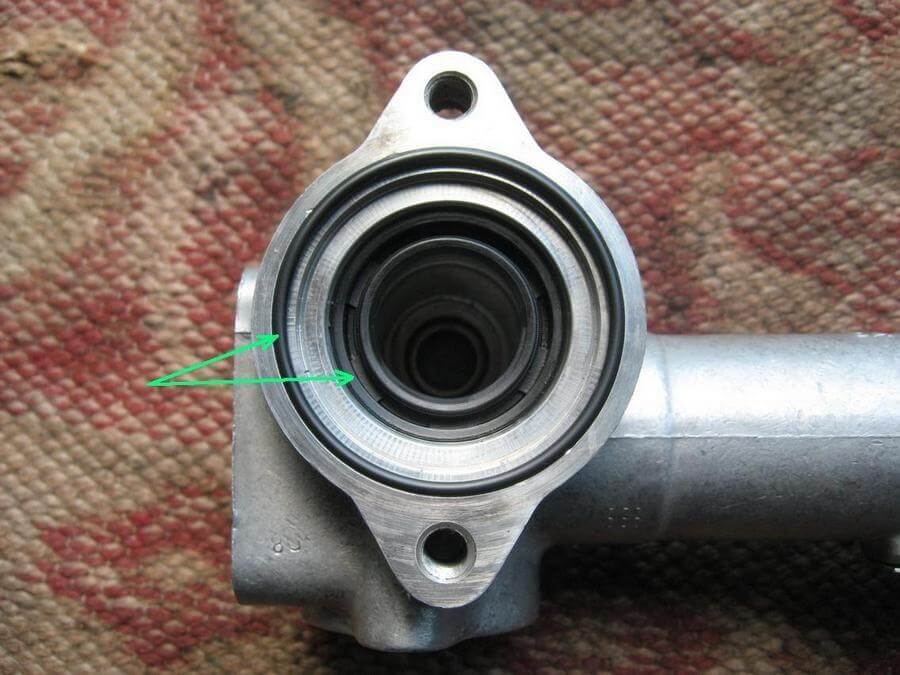
Here are the places in the rail body, in which the factory made coreing.
Then take a new seal from the kit and insert into the clip.
Now insert the rod into the body, put on the gland assembly onto the rod, generously lubricate the power steering fluid (be sure to perform this rather carefully to avoid damaging the gland edge), and press the gland assembly into the rail body with a piece of pipe in order to deliver the gland assembly to the landing site.
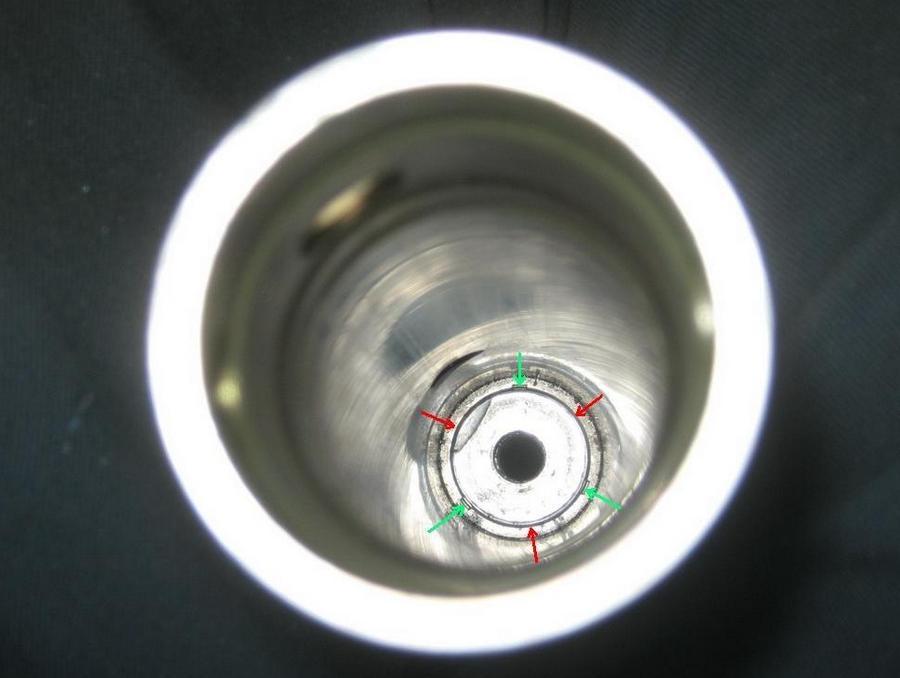
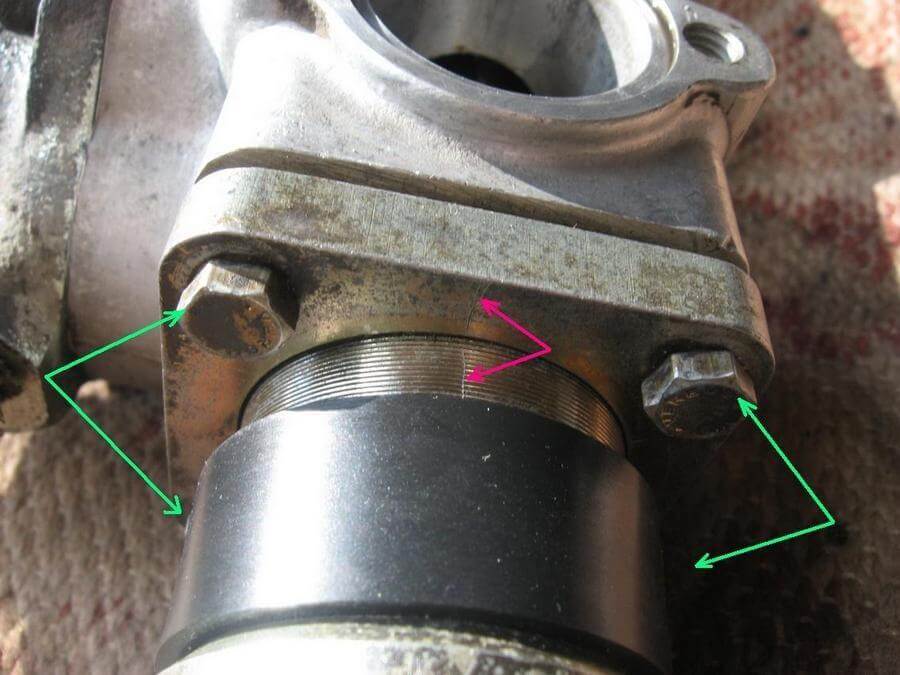
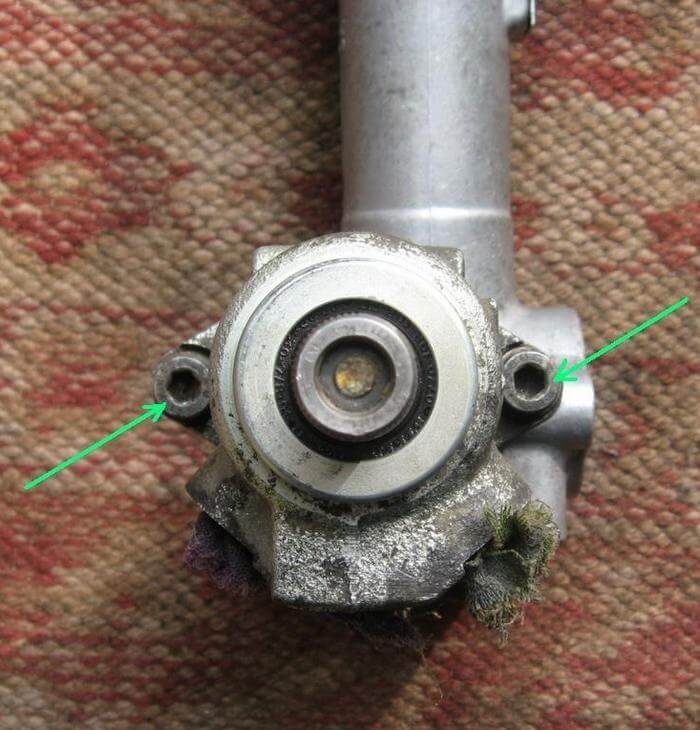
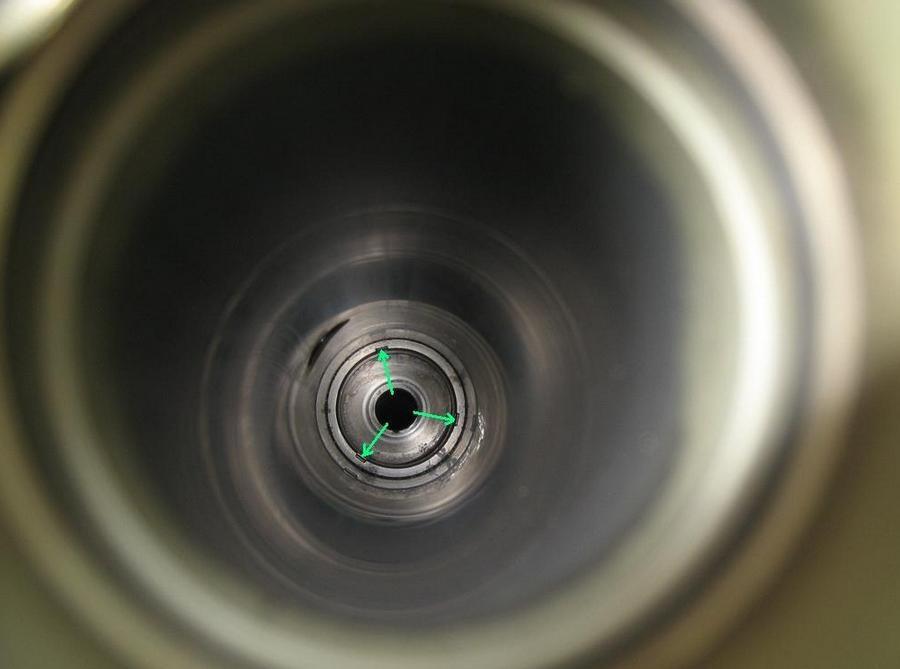
Now take out the rod, threaded the core made in three points (green arrows) body. I additionally screwed in another three points (red arrows).
We insert the rack rod into the body (be sure to lubricate everything abundantly). Now put on the piston with washers and tighten the nut while using the thread lock.
Insert the cylinder into the rail body.
Change the sealing ring on the rail body.

Now apply grease on the slats teeth and a worm, while using AOF06300004 original plastic lubricate of Fiol. As for me, I used Fiol.
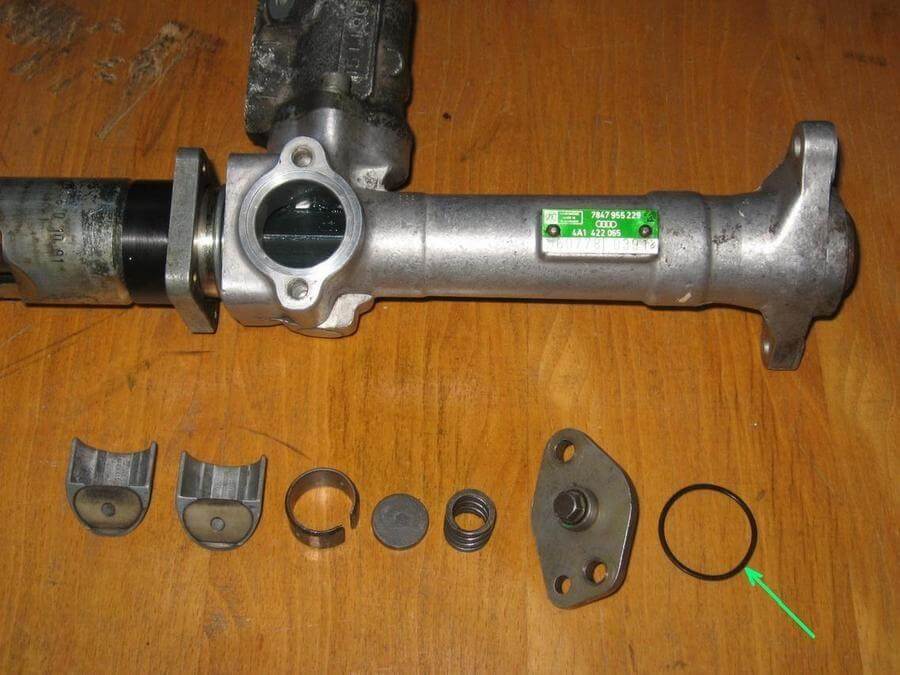
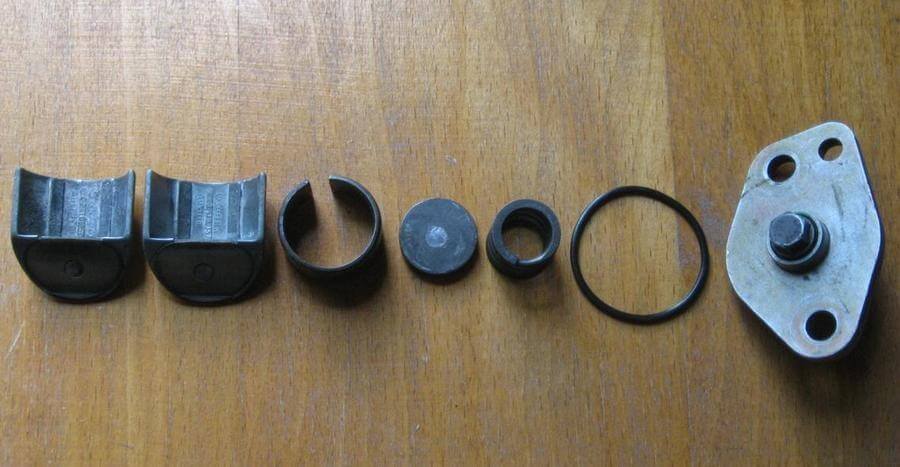
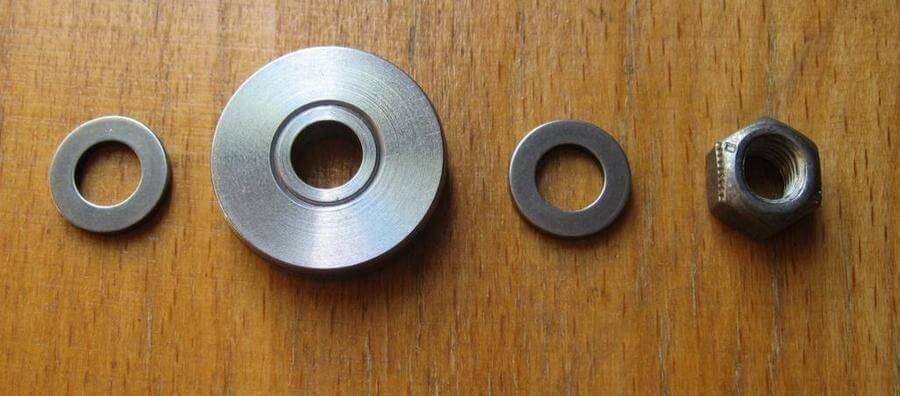
Then collect the persistent mechanism. Change the sealing ring in the kit. It’s required to change the props (on the left in the photo) if the rake knocked, No 30, according to the scheme. They wear plastic washers. The props are available in spare parts separately, their number is 443419148, according to VAG. Be sure to use the same plastic lubricant while assembling the gland.
Now combine the marks which were applied earlier, on the rail frame, and tighten the bolts connecting the rail halves, and use the thread lock.

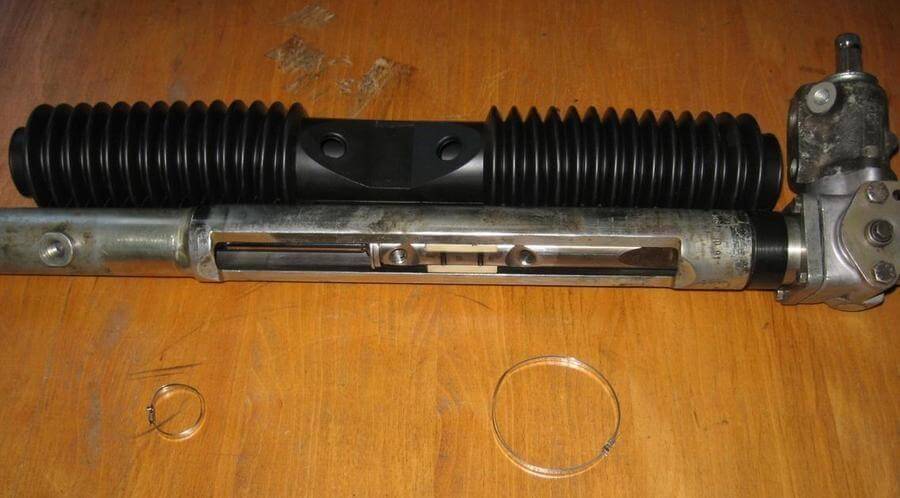
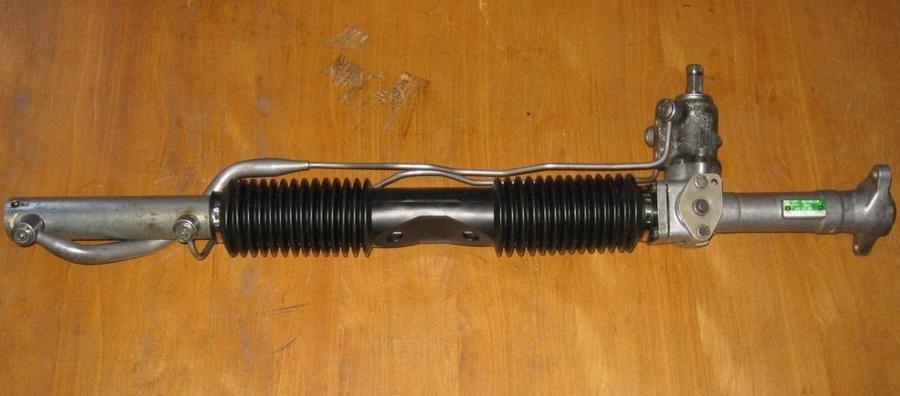
Now take a new boot with clamps, as for me, I used the Lemforder boot number 3012001, it comes delivered with two clamps in a kit. Cover number 43141983, according to VAG.
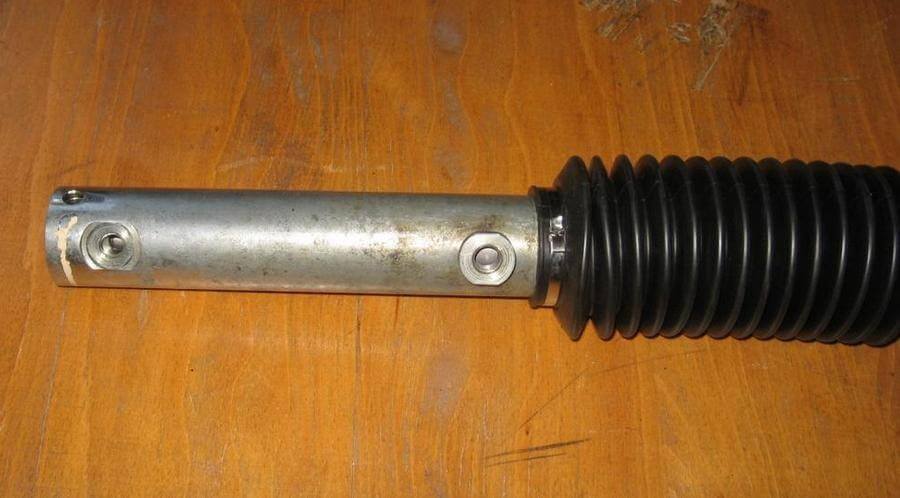
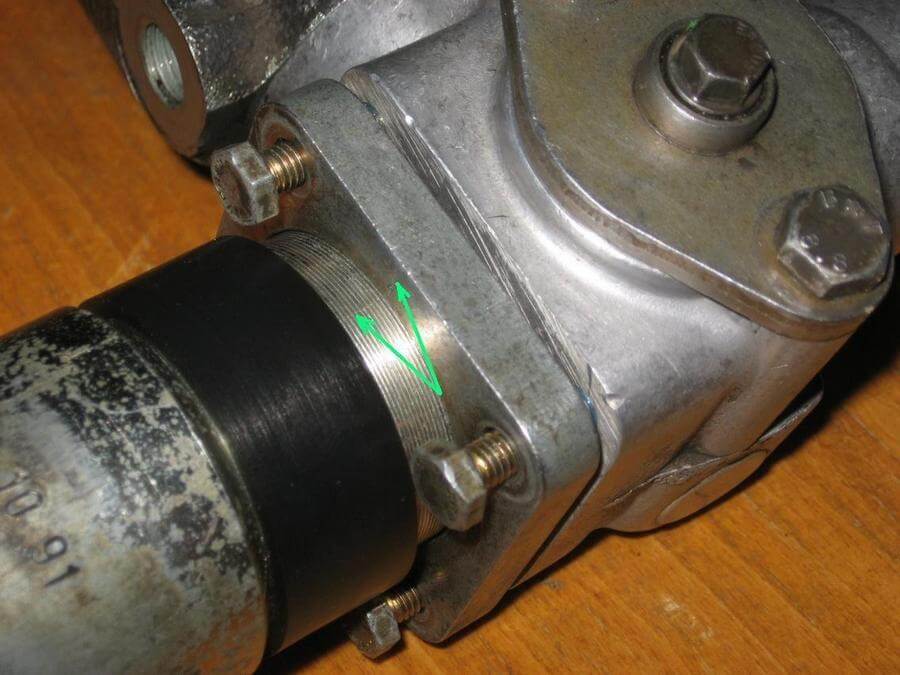
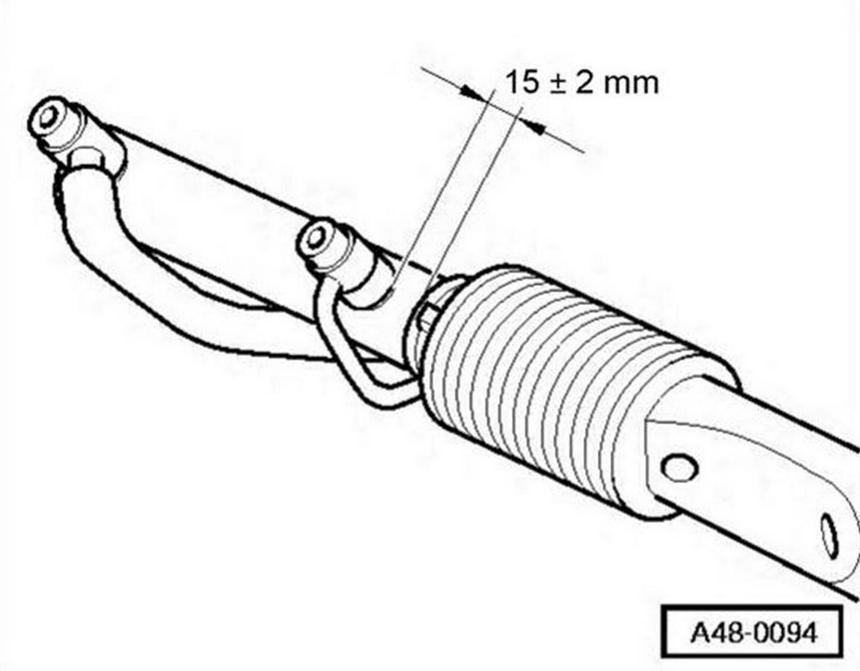
Now put the boot on the rail, maintain the required distance from the boot to the sleeve and fasten the clamps.
Screw the tube to the rail while replacing the sealing rings with new ones from the kit.
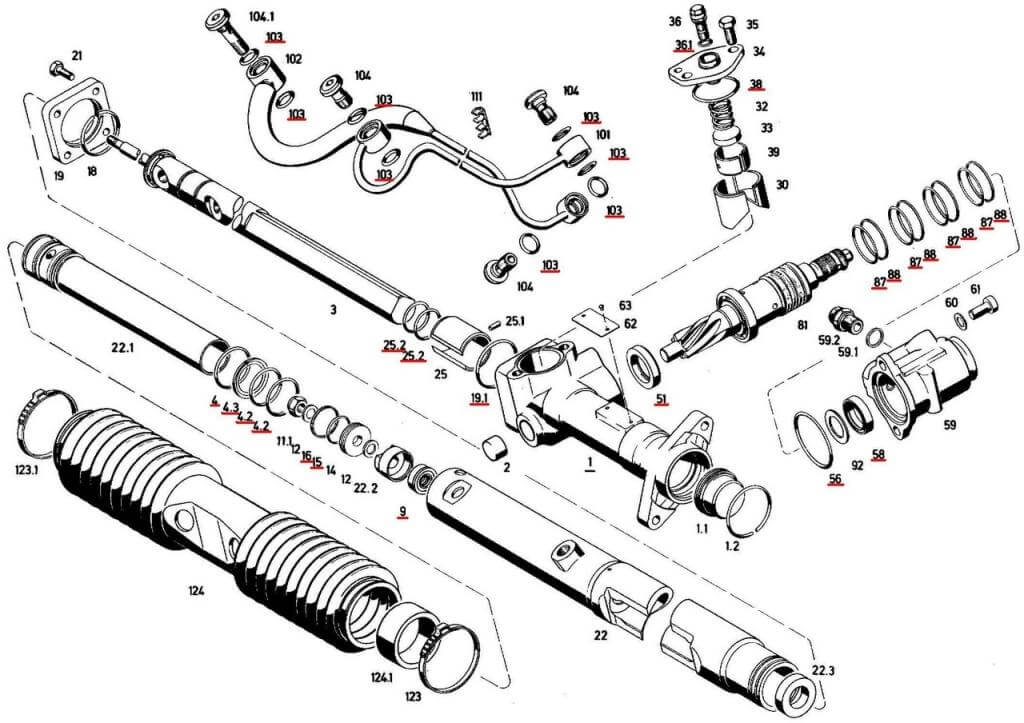
Slats Scheme from ZF catalog. The parts included in ZF company repair kit, which has the number 7847633009, are underlined with read. It’s possible to use the original repair kit number 4A1498020, according to VAG. Rail with servotronic repair kit number is 4A1498020A, according to VAG. I did not change the parts from repair kit number 15, 16, 87, 88 while reassembling the rail — these are the sealing spool and piston elements since the rail worked without complaints, and I did not realized the way to replace these parts without damaging them since they were plastic and couldn’t be stretched.
