Engine oil change in Nissan Qashqai
It is difficult to find an definite answer on «How often should I change the engine oil in Qashqai?» question. It’s recommended to change oil every 15 000 km and in case of severe operating conditions – every 7-8 thousand km for the current model maintenance. However, most drivers are guided by their logic in dealing with the current issue.
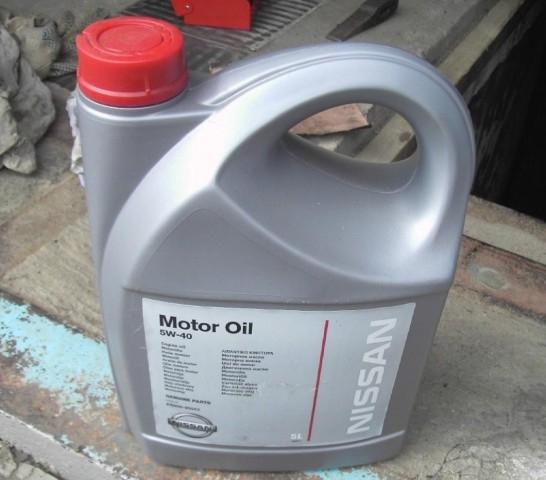
It is recommended to pour engine oil NISSAN 5W40 with catalog number KE900-90042. It is sold in cans of 5 liters.
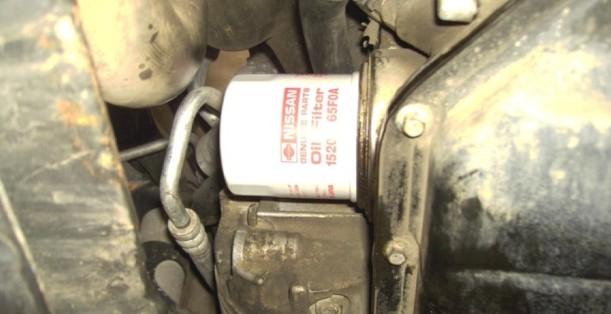
In addition, the oil always changes with the oil filter. The oil filter number is NISSAN 15208-9F600 or 15208-65F0A.
The drain plug washer, which can be found in the catalog with the article number 11026-01M02, should also be replaced.
The current photo-manual on engine oil self-made replacement will be useful for anyone wishing to serve a car by himself.
The things required to replace the oil:
The first is NISSAN Motor Oil 5W-40, 1 canister of 5 liters.
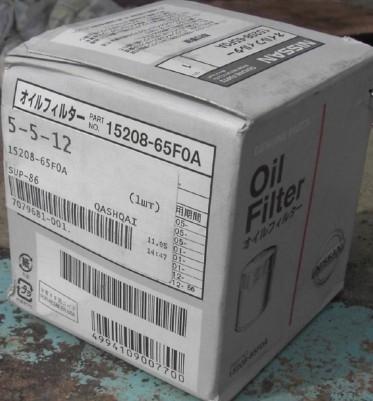
The second is an NISSAN Oil Filter, original code 15208-9F6OO (UK production) or 15208-65F0A (Japan production).
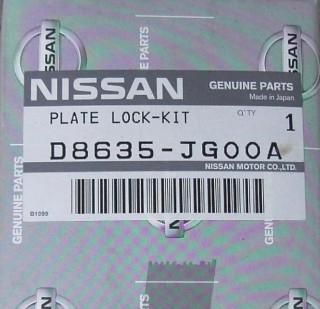
The third is NISSAN Plate Lock-Kit drain plug gasket, original code 11026-01M02.
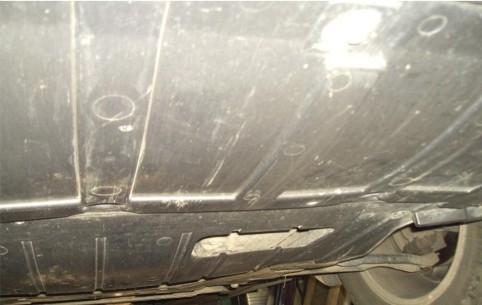
First of all, it’s required to remove the crankcase/ transmission protection according to the manufacturer's manual or remove the factory shield back part. Dismantling is performed on a pit, overpass or elevator.
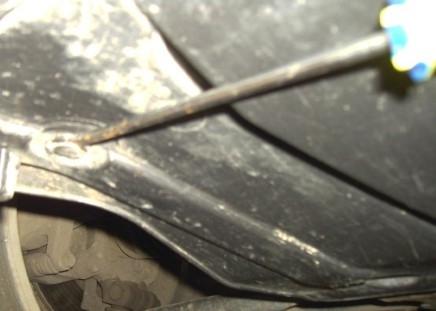
Unscrew 2 bolts on the sides for 10 fastenings to the front of the subframe, then remove 4 pistons from the side parts and 1 piston from the front of the subframe.
The current sequence is the most convenient. It’s required to pick up the center piston part and pull it down for about 8 mm in order to remove the pistons. Then you will manage to easily remove the piston from the hole.

It’s convenient to unscrew bolts with the head, since they are recessed inside the shield. But it also can be performed without the head while using a usual open-end wrench.

Start oil change procedure having opened an access to the engine compartment.
Replace the oil while having an engine fully heated. Start the engine and wait for the temperature to reach the operating level or the cooling fan to turn on.

The oil becomes thinner, which allows it to drain its maximum volume in a shorter time period of while being hot.
Unscrew the filler cap on the engine from the engine compartment.
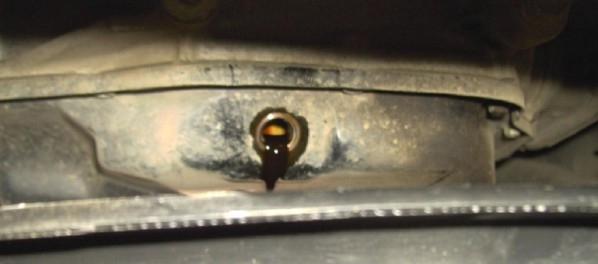
Then place a container under the engine tray’s drain plug and completely unscrew it. Spent hot oil will flow with good pressure. Keep it mind while setting the capacity.
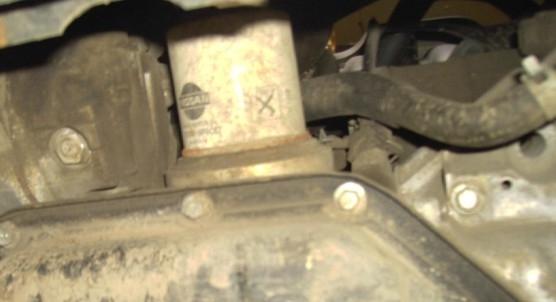
Unscrew the oil filter once the oil has completely drained from the sump. It can be easily accessed from the pit from the front of the engine.
It’s possible to use a removable device for small oil filters or try to unscrew oil filter t by wrapping it with an old belt if failed to unscrew the oil filter with your hands.
It is necessary to install the tank for working under the filter ones the filter moves from its place, since there will be a small oil amount that will definitely flow.
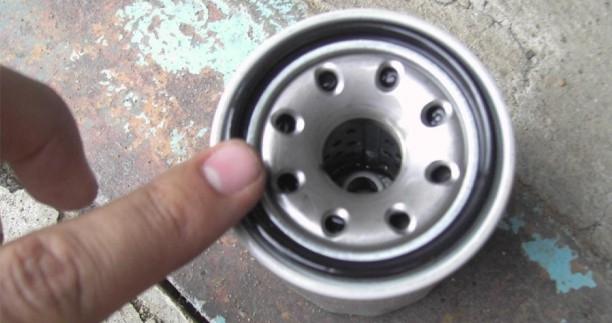
Install a new filter after the old one removing while preparing it before the installation.
Fill the filter with fresh oil about up to half and soak the filter elements in it by turning the filter in a circle.
Besides it’s required to coat the sealing gum filter while using the same oil.
The filter should be tightened by half and no more than three-fourth turn after touching it by the sealing gum. The same rule is specified on the oil filter body. It makes no sense to pull more since it will be rather hard to unscrew it at the next replacement.
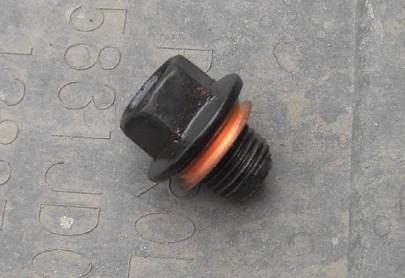
Replace the drain plug sealing ring and screw the cork.
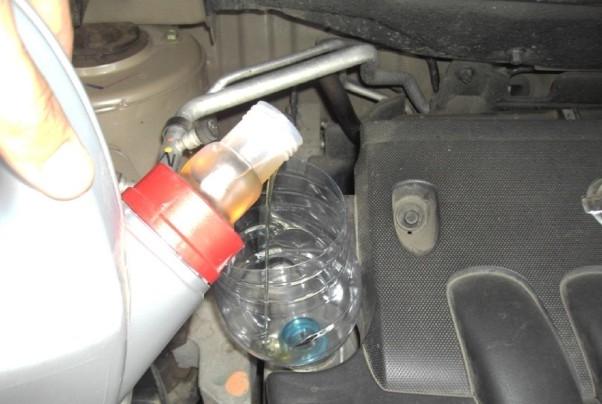
Then you can pour new engine oil through the filler neck. The main principle is to avoid overpouring. Therefore, It’s required to check the dipstick level every 100 grams when it is filled with 4 liters.

The level should be between 2 probe risks. You need to remove the funnel and tighten the oil plug and put the dipstick in its place once reaching the normal level.
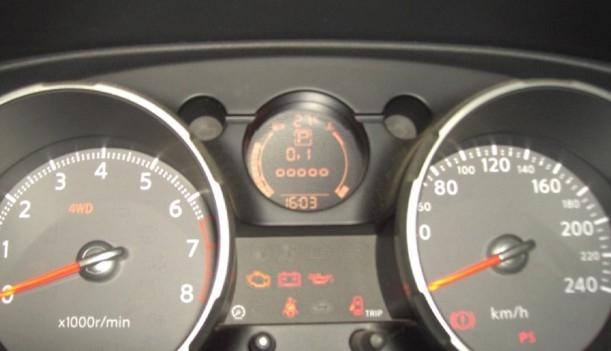
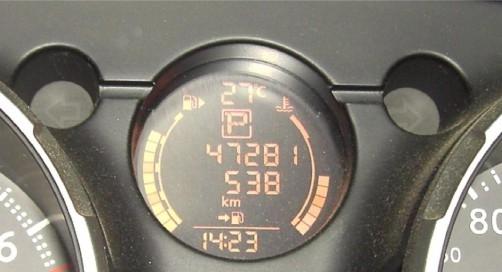
Then check the oil level according to the trip computer. For this, turn on the ignition and press «i» button on the steering wheel or TRIP on the dashboard once Oil Good appears.
The level should be 4-5 divisions out of 5.

Then it’s required to reset the service life mileage, which is displayed according to BC, while turning on the ignition.
It’s reset via the corresponding menu when you turn TRIP on the restyled version.
Do the following actions at the pre-restyled version:
- Press and hold TRIP button at the dashboard while turning off the ignition;
- Turn on the ignition while continuing to hold TRIP button;
- It’s necessary to release TRIP and press it again once the inter-service mileage value with a wrench starts to flash. But the inter-service mileage value will be reset to 15 000 km;
- You should rotate the TRIP in different directions depending on the value in order to change the service interval value.
Now the current procedure is completed.
 Oil for a diesel
 How often should you change the oil
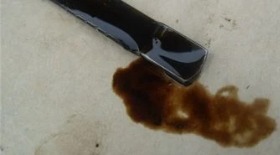 Why does engine oil eventually turn black
 Motor oil test
 Why is dashboard oil light on
 High engine oil consumption
